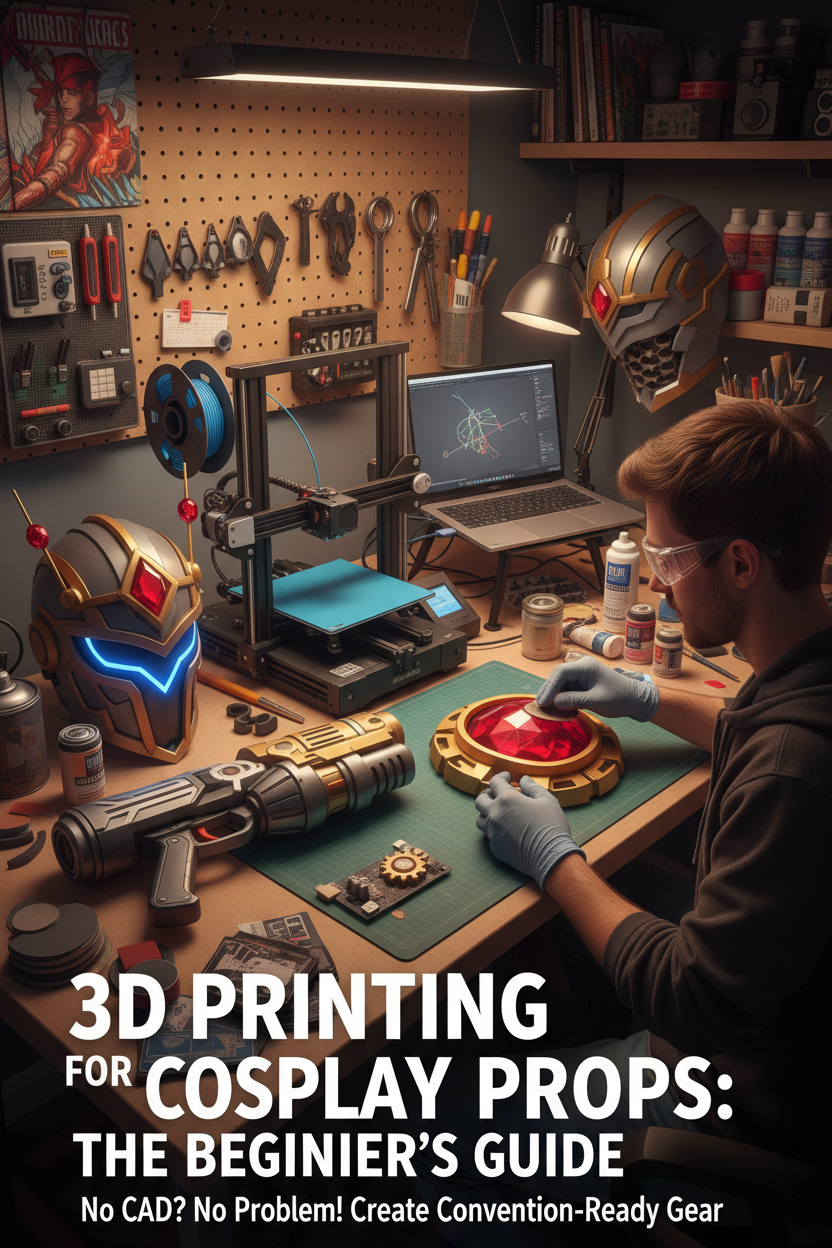
3D printing has evolved from a niche engineering hobby into a core tool for prop makers, enabling hyper-detailed gems, helmet visor rims, and complex mechanical prop components without hand-carving. You do not need a degree in CAD design or mechanical engineering to create convention-ready cosplay gear with 3D printing.
Should You Buy a 3D Printer or Use a Print-on-Demand Service for Cosplay Props?
Direct Answer: Beginners should buy an entry-level FDM printer if they plan to build multiple props per year, as it pays off within 3–4 projects. Print-on-demand services or ready-made 3D printed cosplay detail accessories are better for one-off builds, complex resin details, or testing the waters without upfront machine maintenance.
Comparing Your Entry Paths
| Factor | Owning a 3D Printer (FDM) | Print-on-Demand Service | Buying Pre-Printed Accessories |
| Upfront Cost | $200 – $450 (e.g., Bambu Lab A1, Creality Ender 3 V3) | $0 machine cost ($20 – $100 per print order) | $10 – $50 per finished accessory |
| Learning Curve | Moderate (slicer software, bed leveling, tuning) | Low (upload file, select material) | Zero (ready to paint or wear) |
| Turnaround Time | Immediate (hours to days) | 1 – 3 weeks shipping | 3 – 7 days shipping |
| Best For | Multi-prop cosplayers, full armor kits, weapons | Massive prop pieces, high-res resin gems | Solo detail pieces, tight deadlines |
For most beginners entering 3D printing for cosplay, buying a beginner-friendly FDM (Fused Deposition Modeling) printer with automatic bed leveling offers the best long-term value. However, if you only need a single intricate amulet or a specific pair of horns, starting with pre-made 3D printed cosplay detail accessories eliminates machine troubleshooting while keeping your project moving forward.
Where Can Beginners Find and Edit 3D Cosplay Models Without CAD Experience?
Direct Answer: You do not need to design 3D models from scratch. Beginners can download ready-to-print 3D files from free digital repositories like Printables, MakerWorld, and Thingiverse, or buy specialized cosplay STL files on Etsy and Cults3D, then use free slicer software to scale them.
Recommended Tool Ecosystem for Beginners
-
Free Model Repositories:
-
MakerWorld & Printables: Best for pre-tested, clean STL files optimized for household 3D printers.
-
Thingiverse & Cults3D: Vast libraries covering popular anime, video game, and movie prop replicas.
-
Etsy: Excellent for paid, highly detailed 1:1 scale cosplay prop files pre-split for smaller build plates.
-
-
No-Engineering Software for Editing:
-
Tinkercad (Free, Web-Based): Perfect for merging simple shapes, adding peg holes for assembly, or cutting files in half.
-
Bambu Studio / Cura / PrusaSlicer (Free Slicers): Slicing software converts 3D models into printer instructions. Modern slicers include built-in "Cut" tools to chop large swords or staff heads into smaller pieces that fit your printer plate.
-
Blender (Free): Ideal if you eventually want to step into digital sculpting for organic shapes like armor skulls or demon horns.
-
When learning how to 3D print cosplay props, always check file dimensions in your slicer before hitting print. Scaling a crown or ring by just 5% can be the difference between a comfortable fit and an unusable print.
How Do You Sand, Prime, and Paint 3D Printed Parts to Match Foam Builds?
Direct Answer: Post-processing 3D prints requires a step-by-step cycle of coarse sanding (120–220 grit), applying high-build filler primer or spot putty to hide layer lines, fine wet-sanding (400–800 grit), and finishing with acrylics or spray paint sealed with a clear coat.
Step-by-Step Print Finishing Workflow
-
Support Removal & Initial Rough Sanding: Strip away print supports using flush cutters. Use 120-grit sandpaper to knock down large print nubs and noticeable layer ridges.
-
Gap & Line Filling: Apply a thin layer of wood filler, Bondo spot putty, or UV resin over stubborn seam lines where split prop parts join.
-
Filler Primer Application: Spray 2–3 light coats of automotive high-build filler primer. The primer fills microscopic print steps.
-
Wet Sanding: Once dry, wet-sand the primed surface with 400-grit to 600-grit sandpaper until the surface is satin-smooth to the touch.
-
Base Painting & Weathering: Paint using acrylic paints or spray enamel. Apply acrylic washes (black/brown paint diluted with water) in crevices to give metallic parts depth.
-
Sealing & Matching Textures: Coat with matte, satin, or gloss clear sealant.
Having dedicated prop finishing & paint supplies—like sanding sponges, filler primer, and flexible masking tape—ensures your hard 3D printed components match the flexible, primed look of neighboring EVA foam armor panels seamlessly.
How Do 3D Printed Props Integrate With Traditional EVA Foam Builds?
Direct Answer: 3D printing and traditional EVA foam work best as a hybrid system: use flexible, lightweight EVA foam for large body armor plates, and use rigid 3D printed parts for crisp structural details, sharp blade edges, gems, and mechanical gears.
Traditional EVA Foam vs. Digital 3D Printing
| Feature | EVA Foam Build Method | 3D Printing Build Method | Hybrid Approach (Best Practice) |
| Material Flexibility | High (bends with body movement) | Rigid (PLA/PETG/Resin) | Foam base + 3D detail accents |
| Weight | Extremely lightweight | Moderate to heavy (depending on infill) | Lightweight foam chassis with 3D core |
| Detail Sharpness | Limited by hand-dremeling | Extreme precision (clean bevels/engravings) | 3D printed buckles, runes, & filigree |
| Durability | Flexible, impact-resistant | Rigid, can crack if dropped | Protected high-impact 3D attachments |
Combining digital tools with traditional handcrafting is the fastest way to level up your cosplay builds. For instance, you can construct massive shoulder pauldrons out of 6mm EVA foam for comfort and weight distribution, then mount 3D-printed skull crests or LED light housings onto the center.
If you are new to working with foam alongside digital parts, read our companion guide on EVA Foam Armor Fabrication Guide to master pattern drafting, heat shaping, and contact cement techniques.
Related Guides & Resources
-
EVA Foam Armor Fabrication Guide – Learn the foundational craft techniques to build lightweight base armor for your 3D printed accents.
-
Explore our collection of ready-to-finish 3D printed cosplay detail accessories to skip print times and start painting immediately!

コメントを書く
このサイトはhCaptchaによって保護されており、hCaptchaプライバシーポリシーおよび利用規約が適用されます。