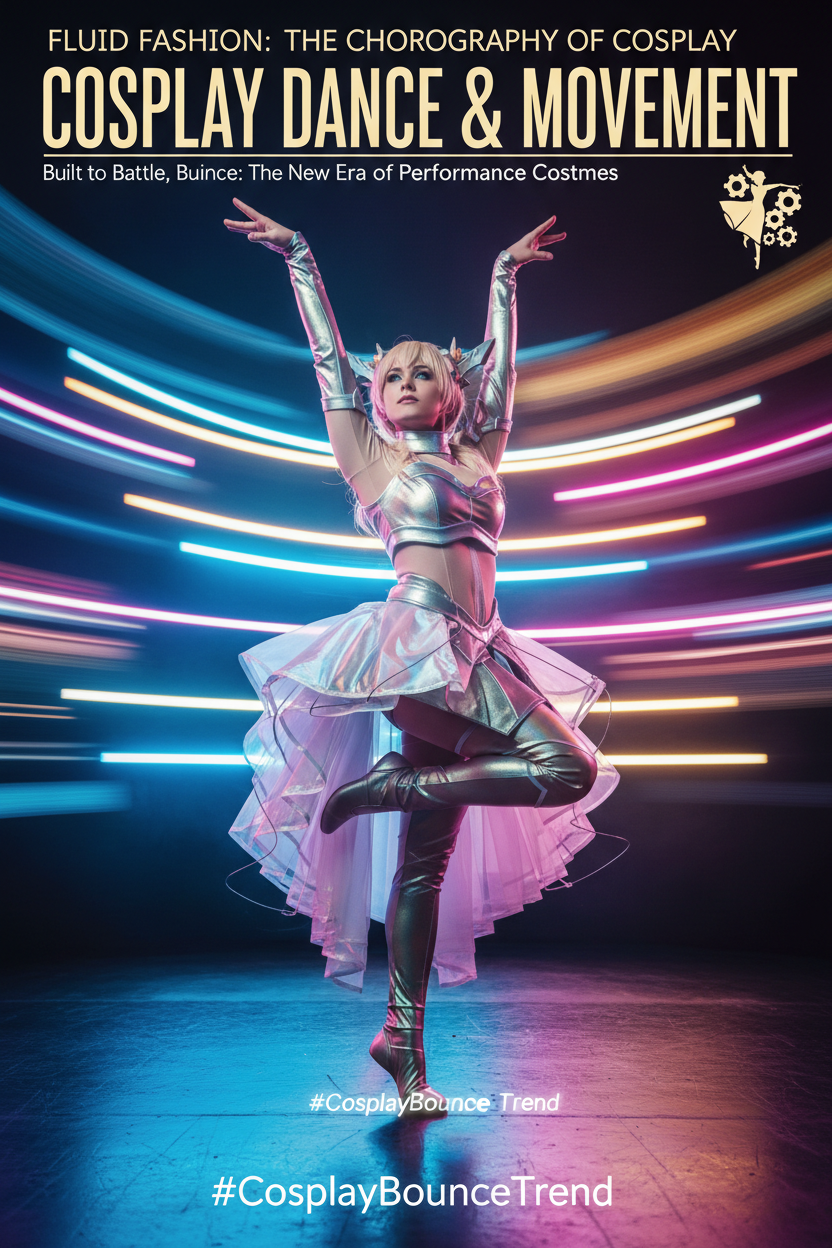
The cosplay dance trend has grown into its own recognized content category on TikTok — under tags like #CosplayBounceTrend, full-costume choreography videos now show up as a distinct format the platform actively surfaces, not just scattered one-off clips. This is a genuinely different physical challenge than most cosplay content prepares you for. A transition video needs a costume to hold up for a few seconds of a single pose. A full cosplay dance routine needs that same costume to survive sustained, high-intensity movement for the length of an entire song — and costumes built for photos frequently don't hold up to that standard without specific reinforcement.
This guide walks through how to build (or modify) a costume specifically so it survives real choreography, not just a static photo.
What you'll need before you start:
- Your finished or in-progress costume, plus a clear idea of the choreography's actual movement range (arm extension, spins, floor work, jumps)
- Basic reinforcement supplies: extra thread matched to your fabric, fabric-safe fusible interfacing or stabilizer for stress points, and safety pins for a quick pre-test check
- A stretch-friendly fabric option in mind for any piece you're still able to modify or rebuild
- Real time to test-dance in the costume before your actual filming day — this is not a step to skip
Step 1: Map Your Costume's High-Stress Points Before You Build Anything
Before touching fabric or construction, walk through your actual choreography (or a close approximation of it) and identify exactly where your body moves most dramatically — full arm extension overhead, deep spins, any floor work, wide leg movement. These are the points that will take the most physical stress during a routine, and they're where a costume built for static photography is most likely to fail first.
This step matters because cosplay choreography puts fundamentally different stress on a garment than posing does. A seam that holds fine when you're standing still or making small movements for a photo can split under the sustained, repeated stretching of an actual dance routine. Shoulders, underarms, the crotch and inner-thigh area on fitted bottoms, and any point where two different fabric panels meet are the classic failure zones — if your choreography involves big arm movements or wide stances, plan reinforcement specifically around those areas rather than treating the whole costume as equally at risk.
Write down or mentally note every point where you noticed real fabric pull or tension during this walkthrough. This list becomes your reinforcement priority order for Step 2 — you don't necessarily need to reinforce an entire costume equally, just the specific points your actual routine puts the most demand on.
Step 2: Reinforce Construction and Choose Stretch-Friendly Fabric Where You Can
With your stress points identified, this step is about actually building in the durability your routine demands — through both fabric choice and construction technique.
Fabric choice matters more for dance-ready builds than for almost any other cosplay use case. A rigid, non-stretch fabric that looks perfect standing still will resist and eventually tear under repeated dance movement, especially at the stress points you identified in Step 1. Wherever your costume's design allows it, choosing a dance-friendly cosplay fabric with genuine stretch and recovery — one that flexes with movement and returns to shape rather than staying stretched out or splitting — makes a bigger difference to how the costume survives a routine than almost any other single decision. Browsing a dedicated stretch-friendly cosplay fabric option when sourcing or rebuilding stress-point panels specifically is worth prioritizing over matching the exact texture of your reference art if the two considerations conflict — a slightly less screen-accurate fabric that survives your full routine beats a perfectly accurate one that fails halfway through.
Construction technique needs to match the stress level, not just the fabric. Reinforce seams at your identified high-stress points with proper stitching rather than relying on adhesive or a single pass of straight stitching — a double-stitched or zigzag-reinforced seam holds up to repeated stretching far better than a single straight seam, which can pop under sustained tension. Adding fusible interfacing or stabilizer behind stress points before sewing gives the fabric extra structural support exactly where it needs it, without adding bulk across the whole garment. If you're not confident in your own construction skills for this level of reinforcement, working with a reinforced cosplay costume construction option built with dance-level movement already in mind saves you from discovering a weak seam mid-routine on camera.
Don't overlook attachment points for accessories and props. Anything attached to the costume rather than built into it — a cape, an oversized prop, a detachable piece — needs its own secure attachment method rated for movement, not just static wear. A prop that's fine to hold in a photo can become a real problem if it's expected to stay attached through a spin or a jump.
Step 3: Test-Dance the Full Costume Before Your Actual Filming Day
This is the step most cosplayers skip, and it's the single biggest predictor of whether your cosplay dance videos actually turn out the way you planned. A costume that survives careful walking and posing can still fail under genuine dance movement — the only way to know for certain is to actually run the choreography in the full costume before you're relying on it for a final take.
Run through the actual routine, at full intensity, in the complete costume — not a rehearsal in regular clothes, and not a slow walkthrough. You're specifically testing whether the reinforcements from Step 2 hold up under real conditions, and this is exactly the kind of full-intensity test that separates a costume that looks dance-ready from one that actually is. If anything shifts, strains, or threatens to give way during this test, you have time to fix it before your filming day — discovering a weak point mid-take on camera is a much worse outcome than catching it now.
Pay particular attention to how the costume feels, not just how it looks, during this test. Restriction that limits your actual range of motion is just as much of a problem as a seam that's at risk of tearing — a costume that technically survives the routine but visibly constrains your movement will show up in the final choreography as stiffness or hesitation, which undercuts the whole point of the content.
Troubleshooting: Common Dance-Ready Cosplay Pitfalls
"A seam split during my test-dance." This almost always means that specific point needed either more reinforcement or a stretchier fabric than what you used — go back to Step 2 and treat this exact spot as a priority stress point, adding double-stitching or interfacing specifically there rather than reinforcing the whole garment equally.
"The costume held up but restricted my movement more than I expected." This is a fit and fabric issue rather than a construction failure — check whether a rigid or low-stretch fabric is limiting your range at a specific joint, and consider whether that panel can be rebuilt in a more flexible material without compromising the overall look.
"My prop or accessory came loose mid-routine." Attachment points designed for static wear often aren't rated for the repeated motion of a full routine. Reinforce the specific attachment method (stronger stitching, a more secure clip or strap system) rather than assuming the same setup that worked for photos will hold under sustained movement.
"I don't know which parts of my costume actually need reinforcement." Go back to Step 1 and actually run your choreography before building anything — guessing at stress points wastes reinforcement effort on areas that don't need it while potentially missing the ones that do. The walkthrough test is worth doing even if it feels like an extra step before construction begins.
"The costume passed my test-dance but I'm still nervous about filming day." If your test was thorough — full intensity, complete costume, the actual choreography — trust it. A costume that survives a genuine full-intensity test-dance is highly likely to hold up again under the same conditions, since you're not introducing any new stress the test didn't already cover.
Next Steps
Building a costume for cosplay dance challenge content is really an extension of the same test-before-you-rely-on-it thinking that applies to any convention-ready costume, just at a higher intensity level. If you found this useful, it's worth pairing this approach with a broader pre-event testing routine — walking, sitting, and full-day wear tests matter for any costume, and dance-level movement testing is really the advanced version of that same principle, pushed to its physical limit rather than everyday convention conditions.
Once you've built and tested one dance-ready costume, you'll have a much clearer sense of which fabrics and construction techniques hold up under real movement, which makes every future costume built for this kind of content faster to plan and more reliable to film — you're no longer guessing at what will survive a routine, you're applying lessons you've already tested and confirmed.


コメントを書く
このサイトはhCaptchaによって保護されており、hCaptchaプライバシーポリシーおよび利用規約が適用されます。