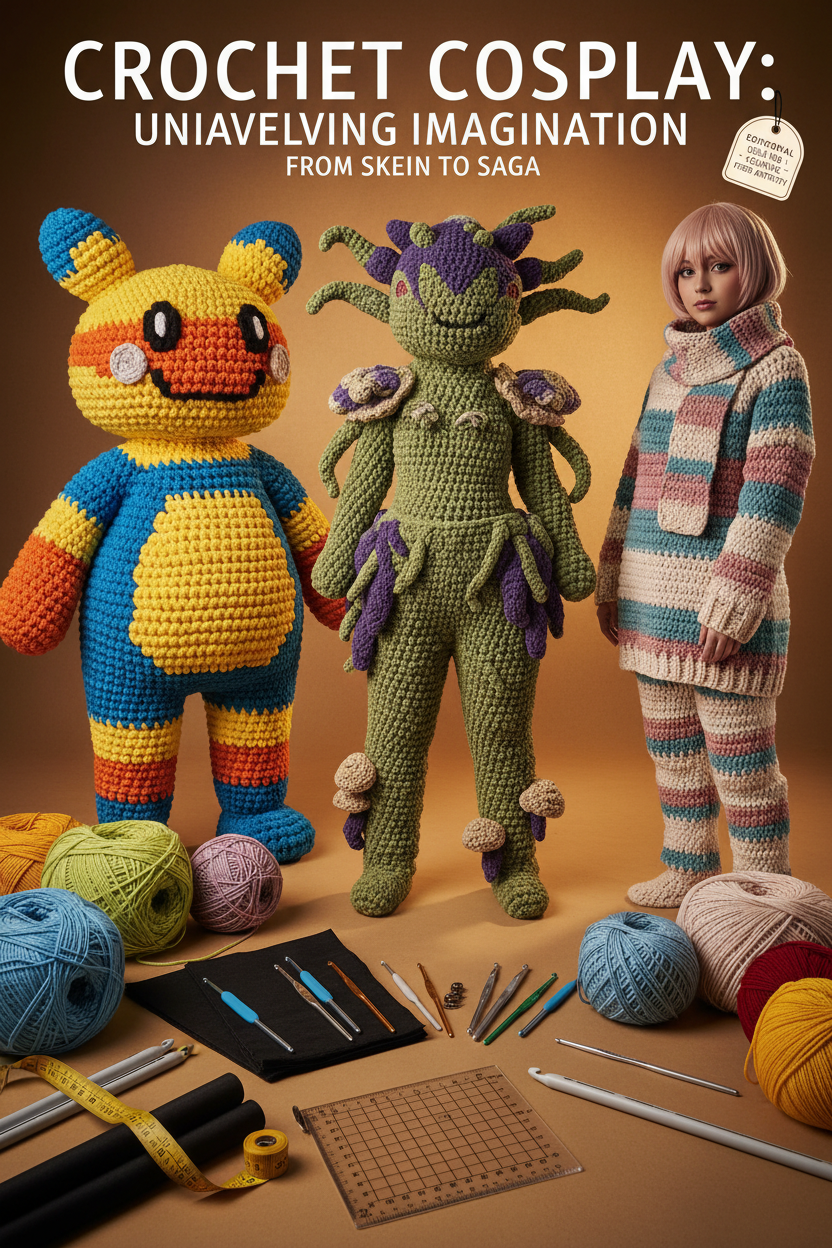
Converting yarn craft into structural crochet cosplay garments allows makers to build soft, organic textures impossible to replicate with traditional woven textiles or rigid EVA foam. By leveraging single-stitch density, structural boning, and specialized yarn blends, you can transform a classic hobby into a full-scale DIY crochet cosplay.
Project Goal & Materials Checklist
Goal: Plan, gauge, stitch, and structure a wearable, full-body crocheted cosplay garment built to withstand convention wear without sagging.
Essential Tools & Materials:
-
Yarn: Heavyweight acrylic or cotton-blend yarn (DK, Worsted, or Chunky weight).
-
Crochet Hooks: Ergonomic aluminum/steel hooks (sized 0.5mm–1.0mm smaller than recommended for dense tension).
-
Internal Support: Flexible plastic boning, interfacing, or elastic mesh lining.
-
Hardware: Heavy-duty metal zippers, reinforced snaps, and stitch markers.
-
Measuring Tools: Flexible tape measure and gauge swatch grid ruler.
Step 1: Select Character Designs and Calculate Yarn Tension
Not every character translates well to yarn. The key to successful crochet costume making lies in selecting characters whose aesthetic benefits from plush, ribbed, or organic hand-stitched textures.
                    [ CHARACTER SELECTION & TENSION MATRIX ]
                                       │
     ┌─────────────────────────────────┼─────────────────────────────────┐
     ▼                                 ▼                                 ▼
Retro & Mascot Builds            Plush/Organic Entities           Muted Everyday Styles
- Pokémon, Animal Crossing       - Monsters, Fae, Slime outfits   - Knit sweaters, anime scarves
- Crisp geometric color blocks   - Dimensional relief stitches   - Flexible drape & warmth
-
Choose Suitable Aesthetics: Target retro gaming sprites, mascot suits, plush creatures, or cozy anime variants. Avoid characters requiring razor-sharp metallic armor or satin-sheen drapes.
-
Hook Down for Structural Density: Use a hook size smaller than yarn labeling suggests. Tight stitches (such as single crochet or waistcoat stitch) prevent the fabric from stretching out under its own weight.
-
Work a 4x4-Inch Test Swatch: Stitch, wash, and stretch a sample square to calculate accurate stitch-per-inch counts before drafting your body panels.
Step 2: Draft Pattern Panels and Stitch Structural Sections
Building a wearable garment requires treating crocheted sections as engineered pattern pieces rather than a standard blanket or scarf.
                      [ CROCHET PANEL ASSEMBLY ]
                                   │
 ┌─────────────────────────────────┼─────────────────────────────────┐
 ▼                                 ▼                                 ▼
1. Front & Back Bodice Panels     2. Reinforced Seam Joining       3. Elastic Collar & Cuff Bands
- Tight single crochet grid       - Slip-stitch or mattress join    - Back-loop-only ribbing
  with internal waist shaping       for load-bearing stress points    for snug wrist/neck fit
-
Stitch Load-Bearing Bodices: Work from bottom to top using tight single crochet stitches across high-stress zones (chest, waist, shoulders).
-
Integrate Internal Reinforcement: Sew cotton tape or flexible boning along vertical seams to prevent heavy yarn panels from sagging over a 10-hour convention day.
-
Work Ribbed Transitions: Use back-loop-only (BLO) half-double crochet to create stretchy cuffs, waistbands, and collars that retain their shape after repeated wear.
Step 3: Assemble, Line, and Add Hard Props
To ensure your crochet cosplay costume retains its silhouette, attach structural linings and join hard prop attachments securely.
| Feature / Metric | Standard Woven Fabric | Crocheted Fiber Construction |
| Material Flexibility | Moderate (stretches along bias) | High (naturally elastic loop structure) |
| Bathing & Washability | Hand or machine wash safe | Hand-wash cold; dry flat only to avoid sagging |
| Surface Texture | Smooth, flat, or printed | Dimensional, ribbed, and touchable |
| Weight Distribution | Concentrated on shoulder seams | Evenly distributed; requires internal lining |
-
Sew Internal Fabric Linings: Stitch a lightweight, non-stretch cotton lining inside waistbands and shoulder straps to carry garment weight directly against the body.
-
Join Panels with Reinforced Seams: Use a mattress stitch or slip-stitch join with high-tenacity thread to lock panel edges together seamlessly.
-
Mount Accessories: Secure EVA foam or 3D-printed props directly to hidden internal canvas patches embedded within the crochet grid rather than stitching directly into loose yarn loops.
Troubleshooting Common Crochet Cosplay Pitfalls
Problem 1: Garment Stretches and Lags Lower During Wear
-
Cause: Heavy yarn weight stretching open-loop stitches down over time.
-
Solution: Line load-bearing areas (shoulders, waist) with non-stretch fabric, and use acrylic-cotton yarn blends over 100% heavy wool.
Problem 2: Skin Shows Through Stitches
-
Cause: Using large hook sizes or loose stitch styles across fitted body panels.
-
Solution: Switch to a smaller hook size, choose dense stitches like waistcoat or thermal stitch, and wear a color-matched morphsuit or bodysuit underneath.
Problem 3: Yarn Fuzzing or Pilling on Friction Points
-
Cause: Friction between underarms and side panels destroying soft fibers.
-
Solution: Apply fabric shaver tools post-event, and treat friction seams with anti-pilling yarn spray before wearing.
Expanding Your Craft Arsenal
Mastering fiber craft opens up an entirely new dimension of creative texture in costume design. By combining structural stitch techniques with proper internal support, yarn becomes a durable alternative to conventional textiles.
Ready to start your first yarn build? Source specialized crochet & yarn craft supplies for cosplay to secure structural fibers and hooks, or explore our companion guide on Where LARP Armor and Cosplay Armor Overlap to see how adjacent maker communities share building techniques.

コメントを書く
このサイトはhCaptchaによって保護されており、hCaptchaプライバシーポリシーおよび利用規約が適用されます。