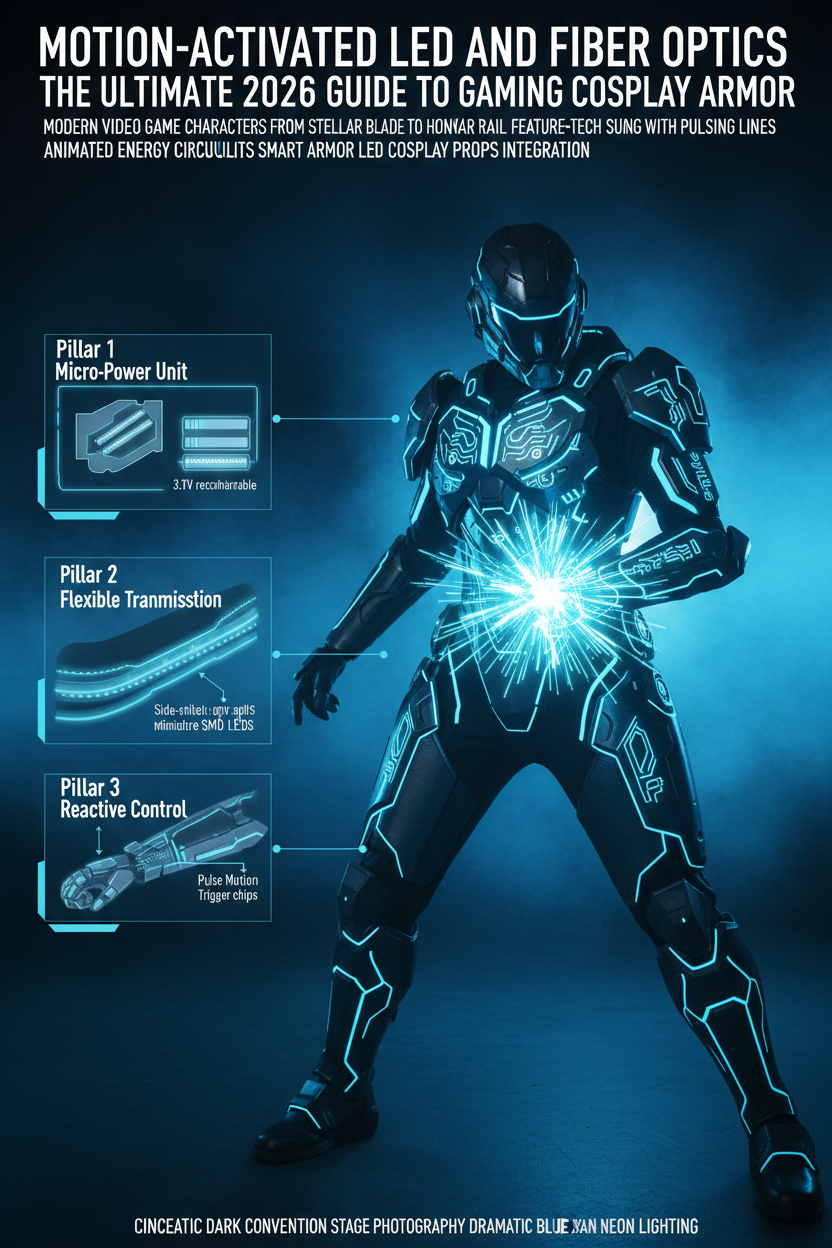
Modern video game characters—from sci-fi action blockbusters like Stellar Blade to space fantasy epics like Honkai: Star Rail—feature high-tech suits glowing with pulsing neon lines and animated energy circuits. Replicating these futuristic designs requires more than simple static paint jobs; it demands glowing anime cosplay integration using motion-activated LEDs, flexible fiber optics, and lightweight micro-controllers.
Table of Contents
-
Chapter 1: The Evolution of Gaming Armor and LED Integration
-
Chapter 3: Advanced Techniques: Motion Sensors & Fiber Optic Routing
-
Chapter 4: Essential Tools, Hardware & Resource Recommendations
Chapter 1: Basic Concepts and Definitions of Smart Armor
The shift from rigid plastic armor to dynamic, reactive wearable technology defines modern LED cosplay props construction.
                    [ SMART ARMOR ECOSYSTEM ]
                                 │
     ┌───────────────────────────┼───────────────────────────┐
     ▼                           ▼                           ▼
1. Micro-Power Unit          2. Flexible Transmission     3. Reactive Control
- Ultra-slim Li-Po 3.7V      - Side-emit fiber optic      - Accelerometer & pulse
  rechargeable batteries       cables & SMD LEDs            motion triggers
-
What is Smart Armor? Unlike older builds that relied on external battery packs and manual toggle switches, 2026 smart armor embeds programmable microchips (such as Arduino Nano or custom ATtiny boards) directly inside EVA foam and 3D-printed armor plating.
-
Why Fiber Optics Matter: Traditional LED strips create harsh hot-spots of bright light. Side-emitting fiber optic filaments diffuse light uniformly across a 2mm line, mimicking futuristic energy veins found in modern sci-fi character designs.
Chapter 2: Core Strategies and Implementation Framework
Designing a reliable electronic harness into foam armor requires structured planning to prevent wire breakage during convention movement.
-
Step 1: Channel Routing in EVA Foam: Before gluing armor plates together, use a rotary tool (Dremel) with a routing bit to carve 3mm deep channels along the backside of your foam. This hides wires completely and prevents friction wear against your undersuit.
-
Step 2: Voltage and Power Distribution: Calculate total power draw before soldering. Most 5V NeoPixel or WS2812B addressable LED setups require a dedicated 5V 3A regulator to prevent voltage drop and flickering across long armor sleeves.
-
Step 3: Modular Connection Points: Use magnetic pogo-pin connectors or 3-pin waterproof aviation plugs at major joint seams (shoulders, waist, knees). This allows you to disconnect your arms and legs easily when taking off the armor between photoshoots.
Chapter 3: Advanced Techniques and Case Studies in High-End Builds
To elevate your costume to championship tier, standard lighting effects can be upgraded with responsive motion triggers.
-
Accelerometer-Triggered Combat Pulses: By integrating an MPU6050 accelerometer gyroscope into your forearm bracers, you can program the LEDs to flash an intense energy burst whenever you strike a dynamic combat pose or swing a prop weapon.
-
Breathing-Mode Glow Simulation: Program smooth PWM (Pulse Width Modulation) fading loops to replicate an organic "breathing" energy core on chest plates.
-
The High-End Advantage: Building complex custom circuitry requires hours of testing, micro-soldering, and thermal management. For creators seeking professional-grade execution, our custom-tailored smart cosplay armor line features pre-programmed reactive lighting modules, hidden magnetic quick-connects, and aircraft-grade aluminum reinforcement.
Chapter 4: Essential Tools and Resource Recommendations
Building functional electronics into cosplay armor requires specialized hardware:
For a complete setup of workspace electronics, soldering gear, and lighting accessories, explore our curated Cosplay Photography & Costume Essentials collection.
Frequently Asked Questions (FAQ)
-
Q: Will wearing LED armor in hot convention halls cause overheating?
-
A: Modern SMD LEDs and side-glow fibers generate negligible heat compared to older incandescent bulbs. However, ensure your EVA foam armor features inner ventilation channels and moisture-wicking mesh to keep you cool.
-
-
Q: How do I prevent solder joints from snapping when bending my elbows?
-
A: Always relieve physical tension by securing wires with hot glue loops a half-inch behind each solder joint, and use stranded wire instead of stiff solid-core wire.
-
-
Q: Can I wash armor with built-in electronics?
-
A: No. Always design your electronic components to be fully removable via magnetic connectors or Velcro pouches so the outer foam and leather armor can be cleaned separately.
-
Conclusion & Related Internal Resource Hub
Integrating motion-activated LEDs and fiber optics transforms static gaming armor into an immersive, living work of art. By planning your wiring channels carefully and utilizing smart microcontrollers, your next build will stand out on any convention stage.
Related Guides & Professional Services:
-
Smart Cosplay Armor Customization Service: Professional engineering for high-end glowing armor and reactive lighting props.
-
5 Common Cosplay Beginner Mistakes to Avoid: Essential advice on electrical safety, weight distribution, and convention preparation.
-
How to Handle a Cosplay Malfunction Gracefully: Quick on-site repair tactics for loose wiring and broken props.
![Cosplay Transition Ultimate Guide: From Beginner to Pro [2026 Edition]](http://www.cosplayreal.com/cdn/shop/articles/cover-cosplay-transition-ultimate-guide-2026-before-casual-after-full-cosplay-algorithm-retention-loop-three-elements.png?v=1788787533&width=832)


Laisser un commentaire
Ce site est protégé par hCaptcha, et la Politique de confidentialité et les Conditions de service de hCaptcha s’appliquent.