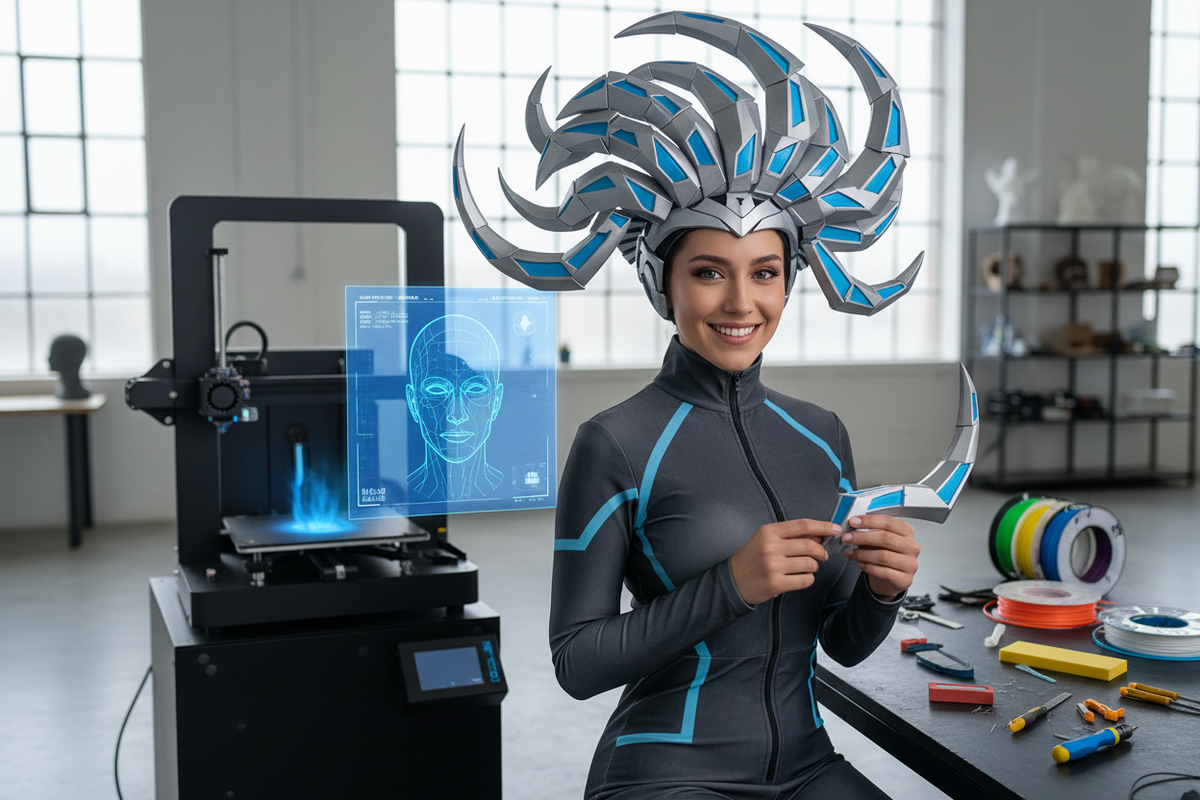
Creating gravity-defying anime hairstyles—such as a 3D printed Demon Slayer wig (like Shinobu Kocho's iconic butterfly hair) or a Hatsune Miku 3D printed wig—using traditional synthetic hair fibers often leads to sagging, heavy internal structures, and hours of tedious hairspraying. Learning how to make a 3D printed cosplay wig allows you to achieve clean, stylized anime silhouettes, perfect geometric shapes, and durable props that retain their form across multiple convention days.
This comprehensive 3D printed wig tutorial covers every stage of constructing a wearable 3D printed wig, from initial 3D head scanning and weight-optimized slicing to surface smoothing and secure head rigging.
Required 3D Printed Cosplay Wig Supplies Checklist
Before beginning your build, gather these essential 3D printed cosplay wig supplies:
-
FDM or Resin 3D Printer: A large-format printer (e.g., executing a 3D printing cosplay wig with Creality K2 Plus or Bambu Lab X1C) reduces the need to split models into tiny parts.
-
Filament: PLA+ or Lightweight PLA (LW-PLA) for structural hair shells; PETG or TPU for flexible strands or bang tips.
-
Scanning & Modeling Software: Meshroom or a mobile 3D scanner app (for head mesh), Blender or ZBrush (for sculpting hair strands).
-
Slicing Software: Cura, PrusaSlicer, or OrcaSlicer.
-
Post-Processing Supplies: 120, 220, 400, and 600-grit sandpaper, spray filler primer, spot putty, and acrylic aerosol paint.
-
Mounting Hardware: Adjustable headband/crown harness, neodymium magnets, contact cement, and breathable wig caps.
Step 1: 3D Head Scanning & Digital Hair Modeling
The primary challenge of 3D printed cosplay hair is managing top-heavy weight. A full head of solid plastic can weigh over 2 kilograms, causing severe neck strain and slippage.
-
Obtain a 3D Scan of Your Head: Use a photogrammetry smartphone app or a 3D head mesh to import your exact skull dimensions into Blender or ZBrush while wearing a flat wig cap. This ensures the inner helmet cavity conforms precisely to your head shape.
-
Sculpt Modular Hair Shells: Model the hair as hollow shells rather than solid blocks. Aim for a wall thickness between 1.2 mm and 1.6 mm (2 to 3 perimeter walls on a 0.4 mm nozzle).
-
Optimize Slicer Settings for Minimum Weight:
-
Infill Density: Set infill between 5% and 8%.
-
Infill Pattern: Use Gyroid or 3D Honeycomb for maximum multi-directional structural support at minimal weight.
-
Splitting the Model: Cut large hair volumes into interlocking segments using alignment pegs or dovetail joints so they fit your printer's build volume.
-
Step 2: High-Precision 3D Printing, Surface Sanding, & Finishing
Raw FDM layer lines ruin the smooth, stylized look of anime hair. Achieving a high-sheen, anime-accurate finish requires systematic post-processing.
-
Print Segmented Parts: Print your hair shells using PLA+ for high impact resistance or LW-PLA for up to 50% weight reduction.
-
Initial Sanding Pass: Sand all outer surfaces with 120-grit sandpaper to knock down high layer ridges.
-
Apply Filler Primer & Spot Putty: Spray a heavy coat of automotive filler primer. Fill seam lines between joined segments using plastic spot putty or UV resin cured with a handheld UV flashlight.
-
Progressive Wet Sanding: Sand down the primer using 220-grit, followed by 400-grit and 600-grit wet sandpaper until the surface feels glass-smooth.
-
Paint & Clear Coat: Apply a base coat of acrylic spray paint. Use airbrushing or subtle gradient spraying to create anime highlights, then seal with a satin or glossy clear coat.
Step 3: Headband Fitting, Internal Rigging, & Wearability
A successful wearable 3D printed wig must distribute its weight evenly across the crown of your head rather than pulling on your forehead or ears.
-
Construct an Internal Mounting Harness: Insert an adjustable plastic hardhat suspension harness or a thick contoured steel headband inside the hollow cavity of the front wig shell.
-
Line with Cushioning: Glue high-density 3 mm EVA foam strips inside the contact points to prevent pressure points on your scalp.
-
Integrate Magnetic Anchor Points: For large protruding extensions (such as pigtails or buns), embed pairs of 10 mm x 3 mm N52 neodymium magnets into the base of the hair piece and the inner frame. This allows quick detachment for transport and storage.
-
Secure to Natural Hair: Wear a silicone-grip wig cap over your braided natural hair. Secure the internal harness using hair clips or hairpins anchored into your braid base.
Common Troubleshooting & Pitfall Avoidance
| Issue | Root Cause | Prevention & Fix |
| Wig slides backward during wear | Center of gravity is too far behind the crown. | Add counterweight padding near the forehead frame or anchor the front harness with hidden combs. |
| Visible seams between joined 3D prints | Thermal expansion or insufficient adhesive gap filling. | Bond parts using two-part epoxy or CA glue with activator, then fill seams with UV resin before sanding. |
| Print layer lines showing through paint | Skipping coarse sanding steps before priming. | Always knock down raw plastic ridges with 120-grit sandpaper before applying filler primer. |
| Hair shells cracking upon impact | Inadequate wall thickness or low nozzle print temperature. | Increase wall perimeter to 3 loops (1.6 mm) and print PLA+ at 215°C for superior layer cohesion. |
Conclusion & Next Steps
Using 3D printing technology for cosplay wigs overcomes the physical limits of traditional synthetic fibers when creating gravity-defying hairstyles, sharp spikes, or geometric anime structures. By mastering thin-wall hollow slicing, progressive sanding for layer smoothing, and internal headband load distribution, you can create stunning, durable props that remain comfortable throughout a long convention day.
🚀 Your Next Action Steps
-
Perform a Test Slice & Sample Print:
Cut a small, complex portion of your 3D hair model (such as a hair tip or connection joint) in your slicer and run a quick test print to verify wall strength and support removal ease.
-
Gather Mounting & Rigging Hardware:
Measure your head circumference while wearing a wig cap, select a wide non-slip headband or internal helmet harness, and source high-strength N52 neodymium magnets.
-
Conduct a 15-Minute Fit Test:
Once your build is painted and sealed, wear the completed wig assembly for at least 15 minutes before attending an event. Check for pressure points, balance issues, or loose fittings and adjust padding accordingly.
💡 Community Question:
Which anime character are you creating a 3D printed wig for? Share your character ideas or printing questions in the comments below!


Laisser un commentaire
Ce site est protégé par hCaptcha, et la Politique de confidentialité et les Conditions de service de hCaptcha s’appliquent.