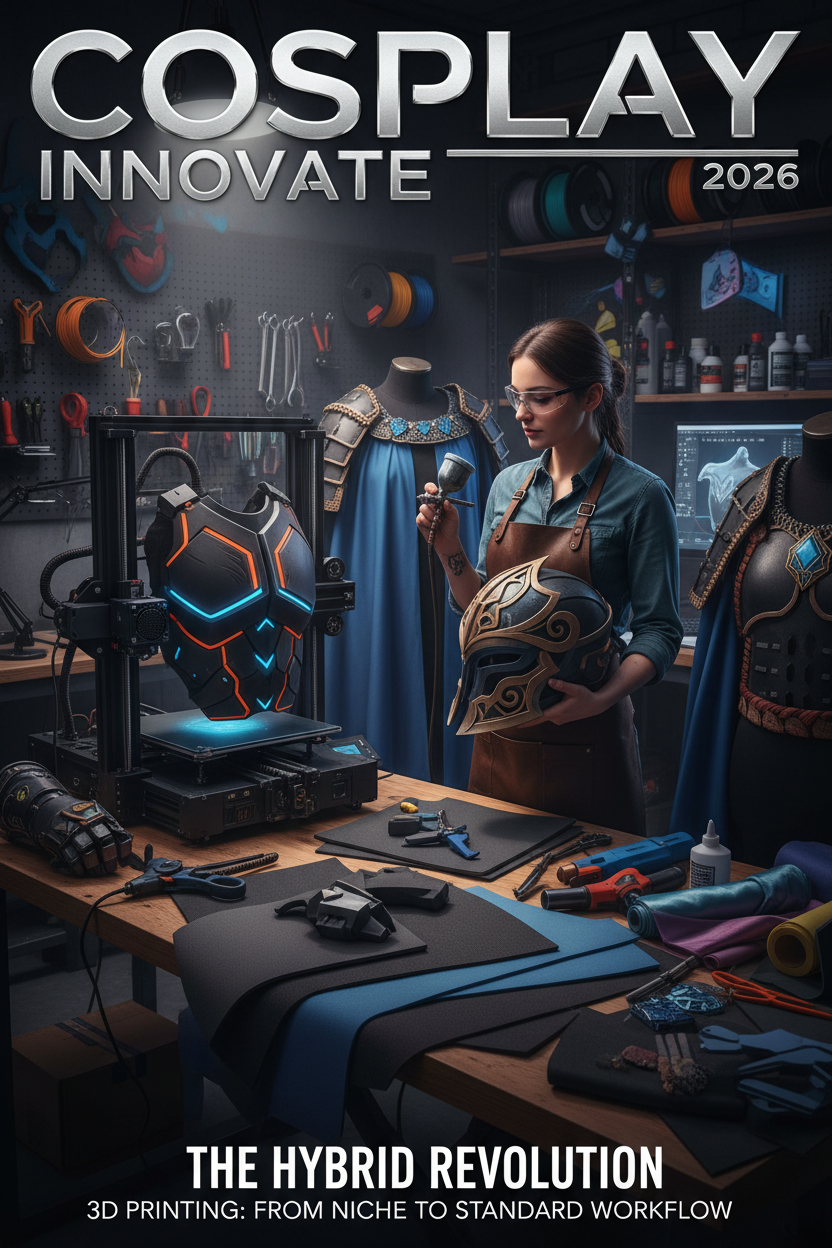
3D printing cosplay has quietly moved from a niche technique used by a handful of advanced builders to something showing up across a huge range of convention-level costumes. Industry trend coverage now describes 2026 as the year digital fabrication shifted from "nice to have" into standard workflow — 3D printed cosplay emblems, buckles, and ornamental trim layered onto traditional foam builds are becoming a normal part of how high-detail costumes get made, not an exotic add-on reserved for a few specialists.
This roundup breaks down five real ways 3D printing for cosplay is being applied right now, ranked roughly by accessibility, so you can see exactly where digital fabrication fits into your own builds — whether that's a single detail piece or a full hybrid construction approach.
How these picks were selected: each method was evaluated on how much it improves detail quality relative to traditional hand-fabrication, how accessible it is without an engineering background, and how well it integrates into existing foam-and-fabric cosplay workflows rather than requiring you to abandon traditional techniques entirely.
Quick Comparison
| Method | Core Highlight | Difficulty | Est. Price Range |
|---|---|---|---|
| Printed Emblems & Badges | Easiest entry point, high visual payoff | Low | $ |
| Printed Buckles & Hardware | Functional precision hand-fabrication can't match | Low–Medium | $ |
| Printed Filigree & Ornamental Trim | Repeatable, symmetrical detail at scale | Medium | $$ |
| Printed Structural Armor Panels | Load-bearing detail layered onto foam | Medium–High | $$ |
| Print-on-Demand Services | Full access without owning a printer | Low (setup) | $$ |
1. 3D-Printed Emblems & Badges — The Easiest Entry Point
Core features: Flat or low-relief emblems, faction badges, and character insignias are one of the simplest, highest-payoff applications of 3D printed cosplay accessories. These pieces are typically small, quick to print, and require minimal post-processing before they're ready to attach to a costume.
Pros:
- Genuinely beginner-friendly, even for cosplayers with zero prior 3D modeling experience, since many popular characters already have community-shared print files available
- Fast print times mean you can iterate quickly if a first attempt isn't quite right
- Dramatically sharper edge definition than hand-painting or hand-cutting the same detail from foam or cardstock
Cons:
- Limited to relatively flat or simple-geometry designs — this method isn't suited to anything with significant three-dimensional complexity
- Still requires sanding and painting to blend seamlessly with the rest of a costume, so it's not entirely "print and attach"
Best for: Cosplayers just starting to experiment with digital fabrication cosplay techniques — this is the lowest-risk way to test whether 3D printing fits your workflow before investing in more ambitious applications.
2. 3D-Printed Buckles & Hardware — Precision Hand-Fabrication Can't Match
Core features: Functional-looking buckles, clasps, and other small hardware pieces benefit enormously from 3D printing's precision — symmetrical, mechanically consistent shapes that are genuinely difficult to achieve reliably by hand, especially if you need multiples of the same piece.
Pros:
- Consistent, repeatable results — printing the same buckle twice produces two identical pieces, which hand-carving or hand-molding struggles to guarantee
- Functional hardware (things that actually need to open, close, or connect) benefits from the dimensional accuracy printing provides
- Once a design file exists, reprinting a lost or damaged piece is far faster than rebuilding it from scratch by hand
Cons:
- Getting the design file right in the first place (whether self-modeled or sourced) still requires some technical comfort
- Printed hardware often needs reinforcement or specific print settings to handle real functional stress, not just look the part
Best for: Builds where hardware needs to actually function — opening, closing, or securing something — rather than just look accurate in a static photo.
3. 3D-Printed Filigree & Ornamental Trim — Repeatable Detail at Scale
Core features: Intricate decorative patterning — filigree, lace-like trim, repeating ornamental motifs — is exactly the kind of detail that's exhausting and error-prone to hand-carve repeatedly, but straightforward to print once a design file is set up. This application is a big part of why 3D printed cosplay props have started closing the visual gap between amateur and professional-level detail work.
Pros:
- Enables a level of fine, repeated ornamental detail that would take enormous hand-fabrication time to match
- Once the design is finalized, producing enough trim to cover an entire garment edge or panel is far faster than by hand
- Particularly well-suited to exactly the kind of gothic, ornate, or period-inspired character designs currently trending in cosplay
Cons:
- Long, continuous trim runs require either a large-format printer or piecing together multiple printed sections seamlessly
- Attaching flexible or curved trim to a garment or armor piece takes real planning — printed material is rigid by default, which needs to be accounted for in your design
Best for: Builds with heavy ornamental detail — gothic, Victorian-inspired, or elaborately decorated character designs where hand-fabricating every repeated motif isn't realistic within your build timeline.
4. 3D-Printed Structural Armor Panels — Detail Layered Onto Foam
Core features: Rather than replacing foam construction outright, this application layers printed structural or decorative panels onto a traditional EVA foam base — combining foam's lightweight, wearable comfort with printing's precision for the specific raised details, buckles, or geometric patterning a design calls for. This hybrid approach is exactly what industry trend coverage points to when describing the shift toward blended construction methods.
Pros:
- Combines the best of both techniques — foam's comfort and low weight for the bulk of a build, printing's precision for the details that matter most
- Doesn't require printing anything at a scale beyond what a standard consumer printer can handle, since large base shapes stay in foam
- A natural next step for cosplayers already comfortable with foam armor construction who want to add a new precision layer
Cons:
- Requires planning your build with both materials in mind from the start, rather than deciding to add printed elements as an afterthought
- Attaching rigid printed panels securely to flexible foam takes some technique — the wrong adhesive or attachment method can crack a printed piece under normal wear stress
Best for: Cosplayers with existing foam-armor experience looking to push their detail quality up a level without abandoning the comfortable, lightweight construction foam provides. Browsing 3D printed cosplay detail accessories designed specifically to layer onto foam bases is a faster starting point than designing and printing your own panels from scratch on a first attempt.
5. Print-on-Demand Services — Full Access Without Owning a Printer
Core features: For cosplayers who don't want to buy and maintain a printer themselves, print-on-demand services let you upload or commission a design and receive a finished printed piece by mail — giving you access to everything covered above without the upfront equipment investment or the learning curve of operating a printer yourself.
Pros:
- No equipment cost or maintenance responsibility
- Access to printer types and materials (larger format, specific resins) you might not own personally
- A lower-commitment way to test whether hybrid cosplay construction fits your workflow before investing in your own setup
Cons:
- Per-piece cost is generally higher than printing the same item yourself once you already own equipment
- Turnaround time depends on the service, which matters if you're working against a con deadline
- Less iterative flexibility — you can't quickly reprint and adjust a design the way you could sitting at your own printer
Best for: Cosplayers who want the precision benefits of 3D printing for a specific build without committing to owning and learning a printer, or anyone whose build needs a printer type or material beyond what a basic consumer machine offers.
How to Choose the Right Approach for Your Build
If you're brand new to this entirely, start with emblems or badges — low cost, fast to test, and immediately useful even if you decide printing isn't for you long-term. If your build has functional hardware needs (something that actually needs to open, close, or connect reliably), buckles and hardware are worth prioritizing next, since that's where printing's precision advantage over hand-fabrication is most obvious.
For cosplayers already comfortable with traditional foam construction, layering printed structural panels onto your existing foam workflow is the most natural next step — you're not abandoning a skill set you've already built, you're adding a precision layer on top of it. Reserve full print-on-demand commissioning for pieces that genuinely need a printer or material beyond consumer-grade equipment, or for testing whether this whole approach fits your build style before investing in your own printer.
Whichever entry point you choose, plan for basic post-processing regardless of method — sanding, priming, and painting printed pieces to match the rest of your costume is still a necessary step, not something 3D printing eliminates from the process.
Summary
3D printing's move from "advanced specialist technique" to standard cosplay workflow reflects a genuine shift in how convention-level detail work gets produced — emblems, hardware, ornamental trim, and structural panels layered onto traditional foam are all realistic entry points depending on your existing skill level and build goals. None of this replaces traditional cosplay craft; it extends it, giving builders a precision tool for exactly the kind of repeatable, fine detail work that's always been the most time-consuming part of high-level costume construction. Starting small — a single printed emblem or buckle — is the most realistic way to find out where this technique fits into your own process.

Dejar un comentario
Este sitio está protegido por hCaptcha y se aplican la Política de privacidad de hCaptcha y los Términos del servicio.