"How do I actually put together a full con outfit on a $100 budget" is one of the most consistently upvoted questions in r/CosplayHelp, especially from students and first-timers trying to figure out where their money actually needs to go. The good news: $100 is genuinely enough to walk away with a photo-ready, convincing anime cosplay — but only if you spend it in the right order. Most budget-blown builds don't fail because $100 wasn't enough money; they fail because the money went to the wrong things first.
This guide walks through exactly how to allocate that budget, what to build versus buy, and how to make the finished look punch above its price tag in photos.
What you'll need before you start:
A firm $100 ceiling, mentally split roughly 50/30/20 between wig, base outfit, and makeup/small accessories (more on why in Step 1)
A character in mind with a relatively simple, generic-adjacent base outfit (school uniform, casual wear, or simple robes travel much further on this budget than heavily structured or armored designs)
A weekend's worth of time — most of it spent shopping and styling, not constructing anything from scratch
Basic makeup you may already own, plus a phone camera for the final shots
Step 1: Allocate Your Budget Before You Spend a Single Dollar

The single biggest mistake budget cosplayers make is buying the costume first and seeing what's left for everything else. Flip that order. Decide your spending split before you buy anything, and let the wig — not the outfit — take the largest share.
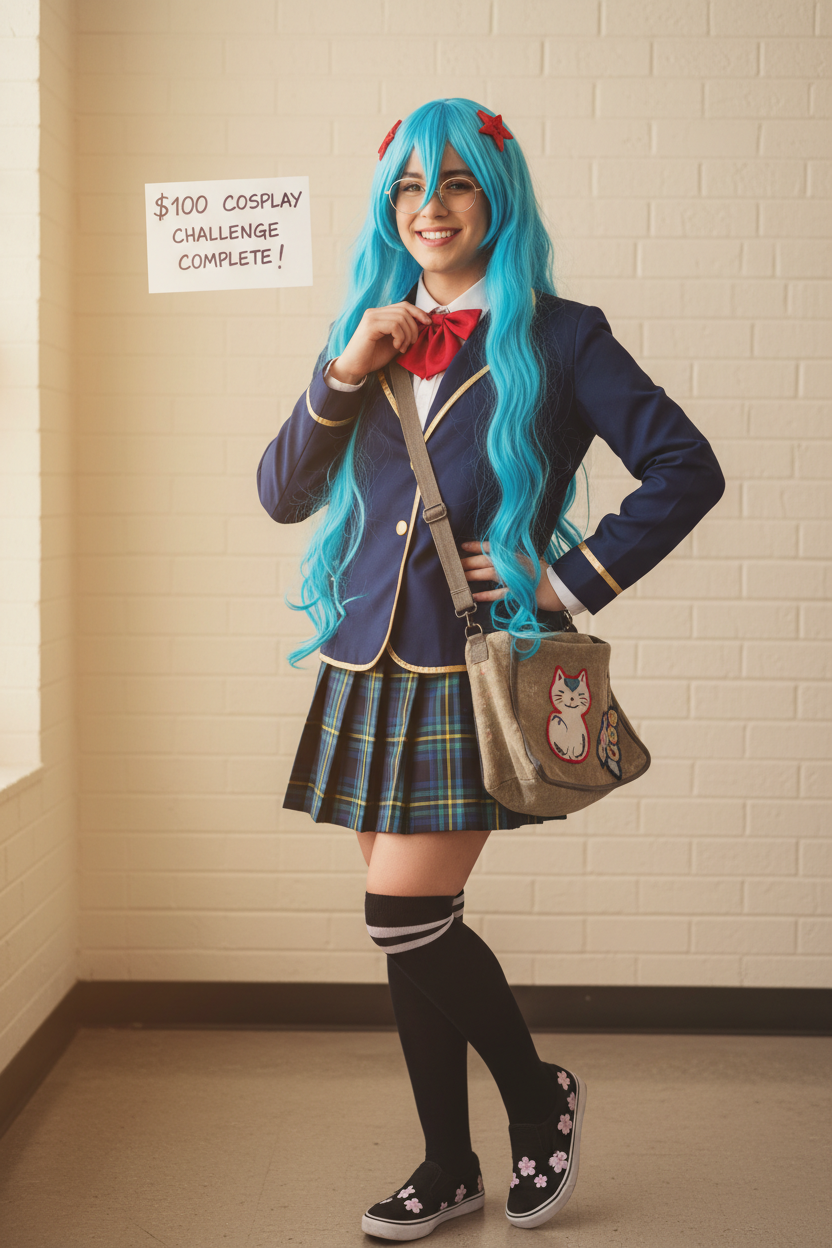
Here's why: hair color and shape do more to make a character instantly recognizable than clothing does, especially in the kind of quick, casual photos most budget cosplayers are working with (phone camera, natural light, no studio setup). A rough but workable split for a $100 budget looks like this: about $50 toward a quality wig, $30 toward the base outfit, and $20 toward makeup and one or two small accessories. This isn't a rigid formula — adjust it based on your specific character — but the underlying principle holds across almost every build: don't let the costume eat the budget that should be going toward the wig.
This is exactly the logic behind prioritizing Budget Cosplay Wigs as your first purchase rather than your last. A wig in the right color, cut to the right length and shape, does more visual work per dollar than almost anything else in this budget — and it's the item most likely to get short-changed if you shop for it last, after your outfit spending has already eaten into the money you had left.
Step 2: Build the Base Outfit from Reusable, Generic-Adjacent Pieces

Once your wig budget is locked in, the remaining costume budget goes a lot further if you pick a character whose outfit is built from genuinely generic pieces — a school uniform, a simple sailor-style top and pleated skirt, plain robes, or basic streetwear — rather than something with unique structural elements that can't be sourced off the rack.
The advantage of generic-adjacent pieces isn't just lower cost — it's reusability. A well-chosen sailor uniform or pleated skirt can often be restyled for more than one character with a different wig and accessories, which means your $30 outfit budget isn't a one-time expense; it's the foundation for future budget builds too. This is part of why generic base garments consistently outperform character-specific custom pieces on a cost-per-wear basis, even when the custom piece looks slightly more accurate on day one.
If you don't want to gamble on piecing together the right combination from secondhand finds, browsing an Affordable Anime Cosplays collection is a faster way to land on a pre-matched, ready-to-wear base outfit within budget — it removes the guesswork of trying to color-match a thrifted top to a thrifted skirt, and most of what you'll find there is versatile enough to double as a base for a different character down the line if you decide to build again.
Small modifications go a long way here too. A basic collared shirt can be tailored slightly at home (rolled sleeves, a quick pin-and-stitch at the waist) to better match a specific character's silhouette without needing to buy a character-specific piece — spend an hour on small adjustments before assuming you need to buy something new to fix a fit issue.
Step 3: Elevate the Finished Look with Makeup and Camera Angles

This is the step that turns a "budget build" into something that photographs like it cost far more than it did, and it's also the step people skip most often because it doesn't involve buying anything new.
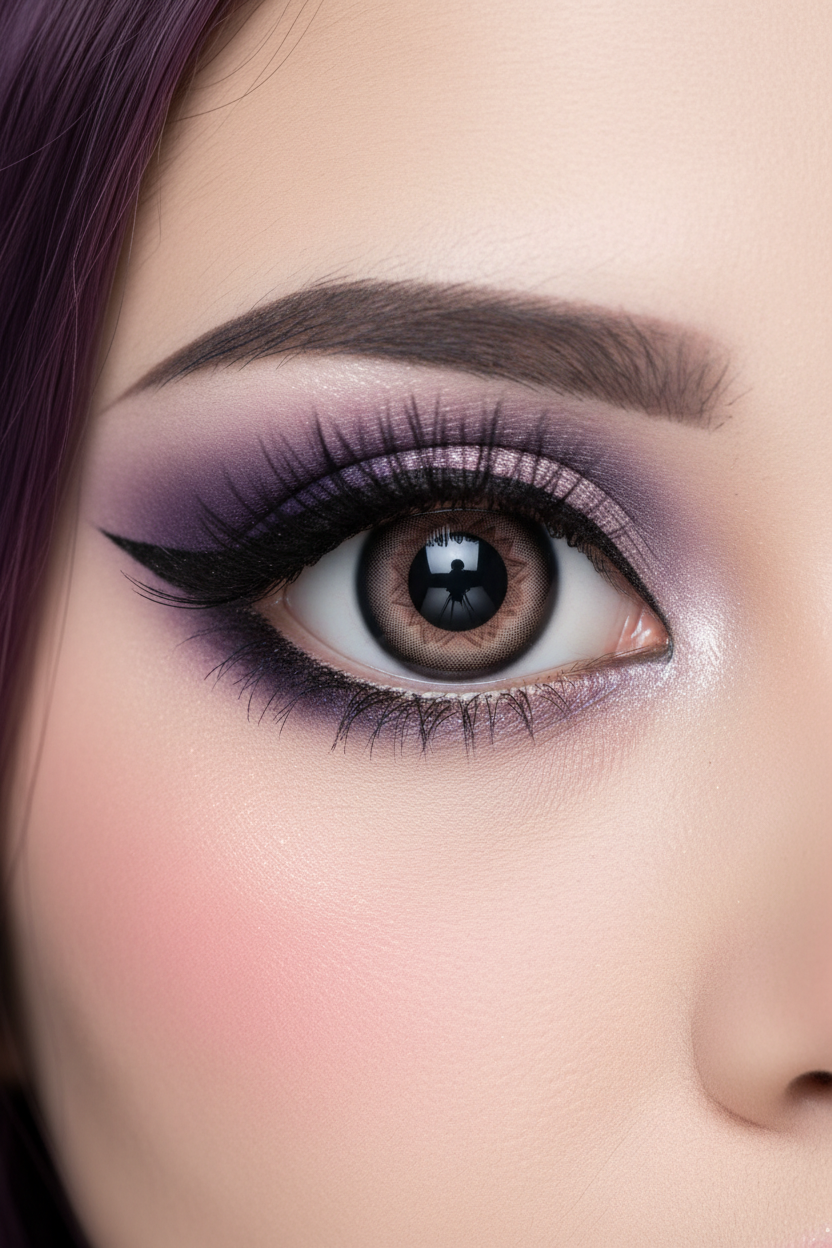
Makeup does more than most people expect on a tight budget. You don't need character-specific products — basic contouring to sharpen or soften your features toward the character's face shape, a bit of eyeliner shape adjustment, and matching your base makeup tone to work well with the wig color are usually enough to meaningfully boost how "finished" the whole look reads, without spending anything beyond what you likely already own.
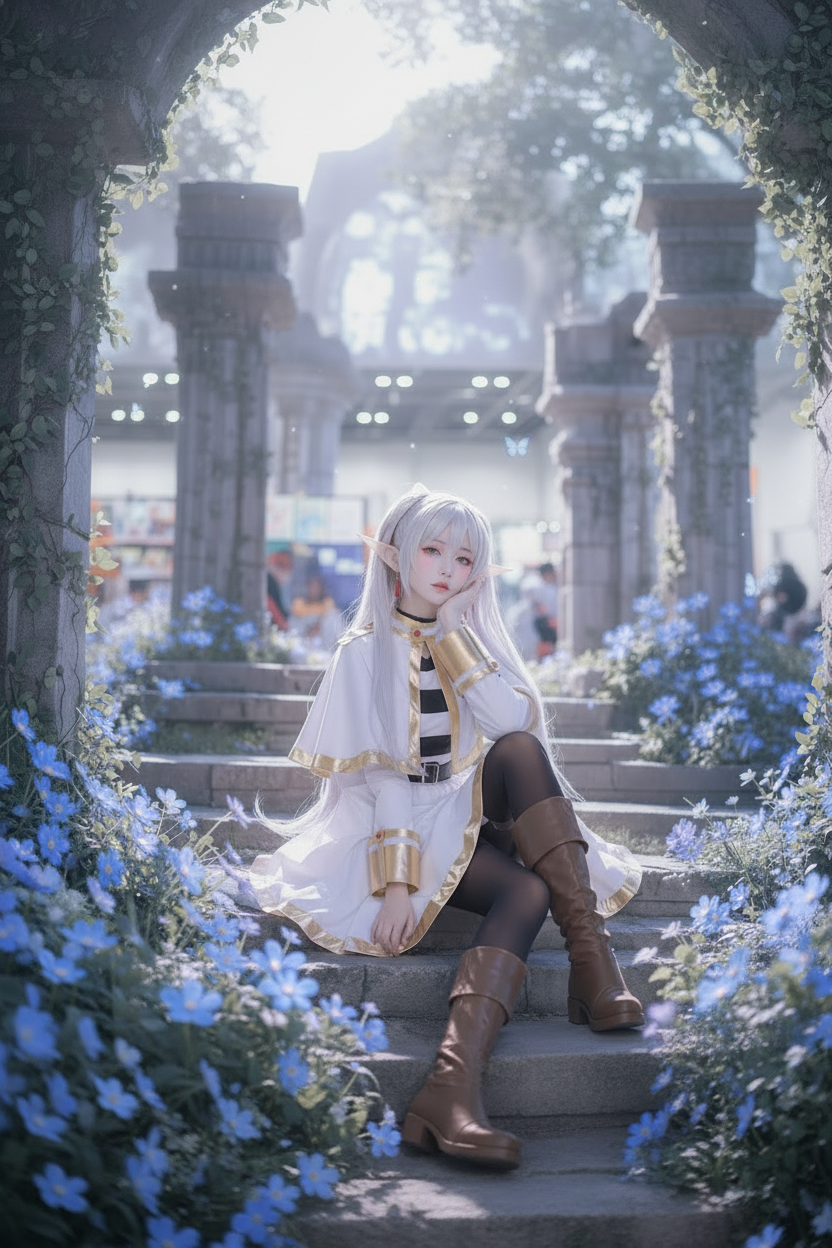
Lighting and angle choices are free, and they matter enormously. Shooting in soft, indirect natural light — early morning or late afternoon rather than harsh midday sun — immediately makes any outfit look more polished, regardless of how much it cost. Camera angle matters just as much: shooting slightly from above tends to be more flattering for most face shapes, while shooting at or slightly below eye level can add a sense of presence and drama that works well for more powerful or serious characters. None of this costs money, but it's frequently the difference between a photo that looks like a quick phone snap and one that looks genuinely con-ready.
Background choice is a free style upgrade too. A plain wall, a simple outdoor backdrop, or anywhere without visual clutter keeps the viewer's attention on your costume rather than competing with a busy background — this alone does more to make a budget outfit look "finished" than almost any purchase would.
Troubleshooting: Common Budget Build Pitfalls

"I spent too much on the outfit and now the wig I can afford looks cheap." If this happens, it's usually recoverable — a lower-cost wig can still look convincing with proper brushing, light restyling, and a wig cap underneath to hide your natural hairline. It's not the ideal outcome, but it's far more fixable than trying to make an ill-fitting or poorly colored outfit look accurate on a shoestring remaining budget. Note the lesson for your next build and flip the spending order.
"My thrifted base pieces don't quite match in color." Slight mismatches are far less noticeable in photos than they feel in person, especially under natural light. If it's genuinely bothering you, a quick fabric dye touch-up on the lighter piece (to bring it closer to the other) is a low-cost fix that doesn't require buying a full replacement garment.
"The wig looks flat and shiny right out of the packaging." This is normal for most synthetic wigs and isn't a sign of a bad purchase — it just needs prep time. Brush it out with a wide-tooth comb, add light texture with your fingers or a wig-safe styling product, and let it sit styled for a day before your shoot rather than wearing it straight from the bag.
"My photos look flat even though the costume looks good in person." This is almost always a lighting or background issue, not a costume issue. Before assuming you need better gear, try reshooting the same outfit at a different time of day or against a plainer background — the difference is often dramatic enough to fix the problem without spending anything further.
"I don't know if my character choice was realistic for this budget." If you're struggling to find affordable pieces after a reasonable amount of searching, it's worth honestly reconsidering whether the character's design is too structurally complex for a $100 budget, rather than continuing to force it. Characters with generic-adjacent base outfits will always stretch this budget further than characters with unique armor, elaborate layering, or custom-shaped silhouettes.
Next Steps
Once you've built one cosplay this way, the process gets noticeably faster the second time — you'll already know how to spot generic-adjacent base pieces that can double for multiple characters, and you'll have a wig and possibly a base outfit you can restyle for a future build instead of starting completely from zero.
If you're planning to attend more than one event this year, it's worth thinking of this $100 not as a one-time cosplay cost but as the start of a small reusable wardrobe — a good wig, a versatile uniform-style base, and a few small accessories can realistically be remixed into two or three different budget builds over time, which brings your actual cost-per-cosplay down significantly the more you reuse and restyle what you've already bought.

Dejar un comentario
Este sitio está protegido por hCaptcha y se aplican la Política de privacidad de hCaptcha y los Términos del servicio.