
Introduction: Why Documenting Genuine Craftsmanship Matters
Recent events across the convention circuit—such as the high-profile Dragon Con vendor floor incident where an art vendor was escorted off property after failing to verify the human creation of their inventory—have placed artist authenticity under intense scrutiny. While that incident involved digital art booths, the ripple effect across fan culture is undeniable: audiences, convention organizers, and competition judges now place a massive premium on verified human skill.
In the costuming world, proving your handmade cosplay process is the most effective way to build community trust, combat claims of stolen or mass-manufactured work, and earn craftsmanship awards. Establishing clear cosplay creator authenticity shows the passion, labor, and problem-solving behind every seam, armor bevel, and styled wig.
Before starting your documentation workflow, equip your workshop with essential recording gear and cosplay crafting tools and supplies:
-
Recording Essentials: Smartphone tripod or desk mount, ring light, and time-lapse video apps.
-
Portfolio Materials: Clear 3-ring binder, photo paper, and fabric swatch cards for contest pre-judging.
-
Crafting Gear: High-density foam sheets, specialty needles, and adhesive applicator kits.
Step 1: Capture Raw In-Progress Work (WIP Shots & Time-Lapses)
Documenting your build as it happens provides unshakeable proof of hand fabrication before any final photography edits are made.
-
Set Up a Station Tripod: Position a smartphone or camera over your primary workspace (e.g., cutting mat, sewing table, or spray booth) to record short time-lapse clips of foam carving, patterning, or stitching.
-
Photograph Key Milestone Stages: Take crisp, well-lit photos at distinct production phases:
-
Patterning: Taped body shells, paper templates, and raw fabric marking lines.
-
Unfinished Construction: Unsealed EVA foam seams, open zipper insertions, and raw interior linings.
-
Finishing & Detailing: Heat-shaping curves, airbrushing shadows, and hand-beading.
-
-
Share Unfiltered Stories & Reels: Post short "Work in Progress" (WIP) updates to social media channels. Raw, unedited footage of trial-and-error builds resonates strongly with audiences concerned about the rise of the AI-generated art controversy.
Step 2: Build a Physical or Digital Craftsmanship Portfolio
A structured portfolio acts as your official record when entering convention masquerades or applying for creator showcases.
-
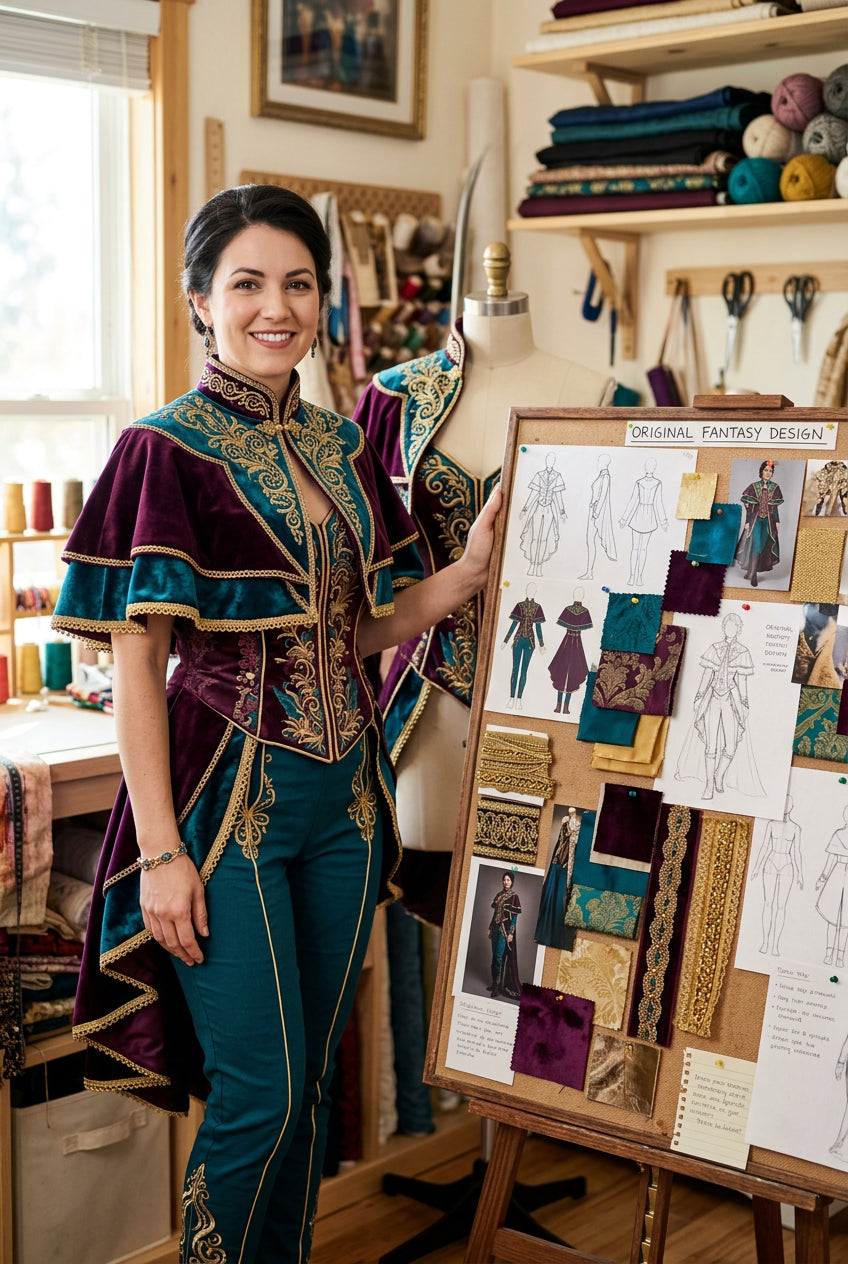
Organize Chronologically: Arrange your build photos from raw materials to final fitting. Include close-up shots of complex internal work—such as interior lining finishes, boning channels, or LED wiring tracks—that judges cannot see from the stage.
-
Include Physical Swatches: Attach 2"x2" fabric swatches, raw foam samples, or thermoplastic test pieces to your physical portfolio pages. Allowing judges to feel the weight and texture of your materials highlights genuine cosplay craftsmanship.
-
Annotate Problem-Solving Steps: Add brief 2-3 sentence captions explaining how you overcame technical hurdles (e.g., "Drafted double-V darts in 6mm foam to achieve a seamless breastplate curve without heat warping").
Step 3: Publish Detailed Material Breakdown & Technique Logs
Sharing the exact tools, materials, and steps used in your project cements your reputation as an authentic maker and serves as an educational resource for fellow creators.
-
List Your Workshop Sourcing: Disclose the specific materials used in your build, such as high-density EVA foam sheets, specialty sewing machine needles, or heat-shaping gear.
Using high-density materials like EVA Foam Sheets 500mm x 1500mm gives your armor builds smooth, paint-ready surfaces that hold heat-shaped curves cleanly.
-
Document Specialty Tooling: Highlight specialized tools employed during construction, such as detail-tip glue applicators or specialty machine needle packs.
 (4 条)
Precision tools like the Surebonder Cosplay Creators Kit help create clean, industrial-strength glue bonds on EVA foam and thermoplastic seams.
-
Utilize Correct Machine Needles: For fabric builds, document needle choices to demonstrate proper garment construction techniques.
(32 条)
Selecting appropriate needles from the Schmetz 10 Needle Costume Pack prevents skipped stitches when sewing heavy vinyl, leather, or delicate costume fabrics.
Troubleshooting & Protecting Content Against Unauthorized Reposting
-
Watermark Your WIP Images: Apply a subtle text overlay with your handle or studio logo across the center of raw progress photos before posting online. This prevents bad-faith actors or scraper sites from re-uploading your progress shots as their own.
-
Overcoming Documentation Fatigue: Stopping to take photos mid-build can interrupt your creative flow. Dedicate 5 minutes at the start and end of every crafting session strictly for quick progress photos and quick notes.
-
Handling Skeptical Online Comments: If internet users question whether a costume was self-made or bought, simply direct them to your public WIP highlight reel or build portfolio. Clear, chronological visual evidence resolves doubts immediately.
Conclusion & Next Steps
Documenting your handmade process does more than verify your hard work—it elevates the entire maker community by celebrating human skill, creativity, and dedication. By capturing progress shots, building clean portfolios, and sharing technique logs, you inspire fellow cosplayers and protect the integrity of your craft. Stock up on essential cosplay crafting tools and supplies to start documenting your next build today!


Hinterlasse einen Kommentar
Diese Website ist durch hCaptcha geschützt und es gelten die allgemeinen Geschäftsbedingungen und Datenschutzbestimmungen von hCaptcha.