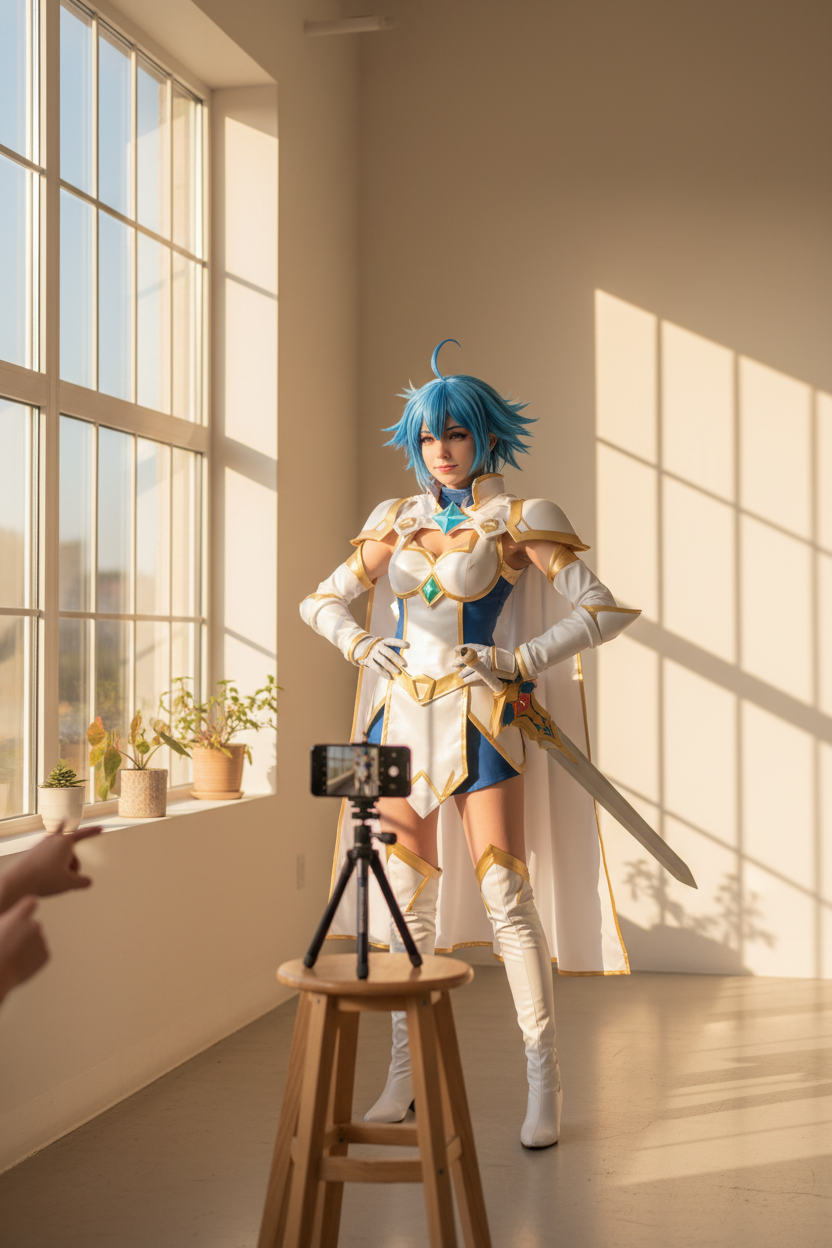
If you've ever scrolled through a #cosplaytransition video and thought "how much did that even cost" or "where's that wig from," you're not alone — those are two of the most common comments left on beginner cosplay content, and for good reason. Getting a con-quality look and photos to match doesn't require a studio, a professional photographer, or a huge budget. It requires knowing what actually matters and what doesn't. Below are the five questions beginners ask most often, answered directly first, then explained in more depth.
Question 1: How much does a beginner cosplay actually cost?
Direct answer: A solid beginner cosplay — costume, wig, and basic makeup — can realistically be pulled together for under $150 if you shop smart and prioritize the right items first. Complexity and character choice affect this more than anything else.
Costs scale almost entirely with two variables: how structurally complex the character's outfit is, and how much of it you can source from your existing wardrobe versus buying new. A character with a simple, closet-cosplay-friendly silhouette can come in well under $100, while a character with elaborate armor or heavily structured tailoring will push toward the higher end of that range even with budget-conscious shopping. The good news is that most of the beginner-favorite characters circulating on TikTok right now — the ones fueling the current wave of transition content — lean toward the simpler end of that spectrum, which is exactly why they're popular starting points in the first place.
Question 2: What should I actually buy first if my budget is limited?
Direct answer: Prioritize the wig before anything else, then basic makeup, then the costume itself — in that order. A great wig with a mediocre outfit reads as "that character." A great outfit with a bad wig usually doesn't.
This surprises a lot of first-timers, who assume the costume is where their money should go. In practice, hair color and shape do more to make a character instantly recognizable than the clothing does, especially in photos and short video clips where viewers are processing the whole look in a second or two. That's exactly why "where's your wig from" is such a common comment under beginner cosplay content — viewers intuitively register the wig as the thing that made the look click. If your budget is genuinely tight, spend proportionally more on affordable full cosplay wigs and less on the outfit, since a simple wardrobe piece thrifted or pulled from your closet can still work well once the wig is doing its job.
If you'd rather not piece together a budget item-by-item and want a more predictable spend, a beginner cosplay starter bundle is worth a look — bundling a wig, basic accessories, and costume pieces together tends to work out cheaper than buying everything separately, and it removes a lot of the decision fatigue that trips up first-timers who don't yet know what "good enough" actually looks like for a first build.
Question 3: Can I get good cosplay photos without a studio or a professional photographer?
Direct answer: Yes — natural light and a phone camera can produce genuinely con-quality results. The two things that matter most are shooting during soft, indirect light (not harsh midday sun) and keeping your background simple.
This is consistently the number one anxiety beginners raise on Reddit's r/cosplay in "first cosplay ever" threads, and it's also consistently the thing commenters reassure them about the most. You don't need a ring light setup or a hired photographer to get photos worth posting. Early morning or late afternoon light — sometimes called golden hour — is soft and flattering without the harsh shadows midday sun creates, and shooting near a window indoors on an overcast day works nearly as well. A plain wall, a tree line, or any uncluttered background will keep attention on your costume instead of competing with it.
That said, if you're planning to shoot indoors regularly, or you want more consistent results regardless of what the weather's doing that day, a basic ring light for cosplay photography is a genuinely useful cross-category investment — it's inexpensive relative to camera gear, portable enough to bring to a con room or a friend's place, and it removes your dependence on catching the right natural light window entirely.
Question 4: How do I film a TikTok-style cosplay transition or reveal?
Direct answer: Plan your "before" and "after" framing to match exactly — same camera angle, same distance, same lighting — then use a consistent transition cue (a snap, a spin, a specific sound cue) to trigger the cut. Consistency between the two shots matters more than any editing trick.
The transition trend is one of the most beginner-accessible content formats in cosplay specifically because it doesn't require advanced editing skills — most of the "magic" comes from planning, not software. Set your phone on a stable surface or tripod, mark where you're standing for both the "before" and "after" shots (painter's tape on the floor works fine), and keep your framing identical between the two clips. The trigger moment — a snap of the fingers, a spin, a specific beat in the audio — is what your editing app uses to line up the cut, and most popular editing apps have built-in templates for this exact format, so you're rarely building the transition from scratch. The costume and wig do the heavy lifting visually; your job is just making sure the two shots line up cleanly enough that the switch reads as instantaneous.
Question 5: What are the most common mistakes that ruin beginner cosplay photos?
Direct answer: The five most common issues are: shooting in harsh midday light, cluttered or distracting backgrounds, wigs that haven't been styled before the shoot, makeup that doesn't photograph the way it looks in person, and posing that feels stiff because it wasn't planned in advance.
Each of these is fixable without spending more money:
-
Harsh light is solved simply by shifting your shoot time earlier or later in the day, as covered in Question 3.
-
Cluttered backgrounds are solved by scouting a plain wall or simple outdoor spot ahead of time rather than shooting wherever you happen to be standing.
-
Unstyled wigs: A wig straight out of the packaging almost always looks flatter and shinier than a properly brushed and styled one — plan for wig prep time the day before, not the morning of.
-
Makeup issues: Makeup that looks fine in a mirror can wash out or shift in tone under camera flash or bright light, so it's worth doing a quick test photo before your full shoot rather than discovering the mismatch in your final images.
-
Stiff posing: Posing — probably the most overlooked of the five — genuinely benefits from having two or three reference poses picked out in advance; even confident cosplayers tend to freeze up a little in front of a camera without something specific to aim for.
None of these fixes cost anything beyond a bit of planning time, which is exactly why they're worth addressing before you assume you need better equipment or a bigger budget.
Summary & Further Reading
Getting con-quality photos as a beginner comes down to sequencing your budget correctly (wig first, then makeup, then costume), understanding that natural light can fully substitute for a studio setup, and fixing the small planning gaps — background, wig prep, pose planning — that trip up most first-timers far more than any lack of equipment does. None of this requires the full $150 budget mentioned at the start; it requires spending that budget on the right things, in the right order.
If you found this useful, here's where to go next:
-
A full breakdown of low-cost wig care and styling, so your wig stays photo-ready across multiple shoots
-
A beginner's guide to special-effects and everyday cosplay makeup that actually holds up under camera flash
-
A closet cosplay guide for stretching your budget even further by building costumes from clothes you already own

Hinterlasse einen Kommentar
Diese Website ist durch hCaptcha geschützt und es gelten die allgemeinen Geschäftsbedingungen und Datenschutzbestimmungen von hCaptcha.