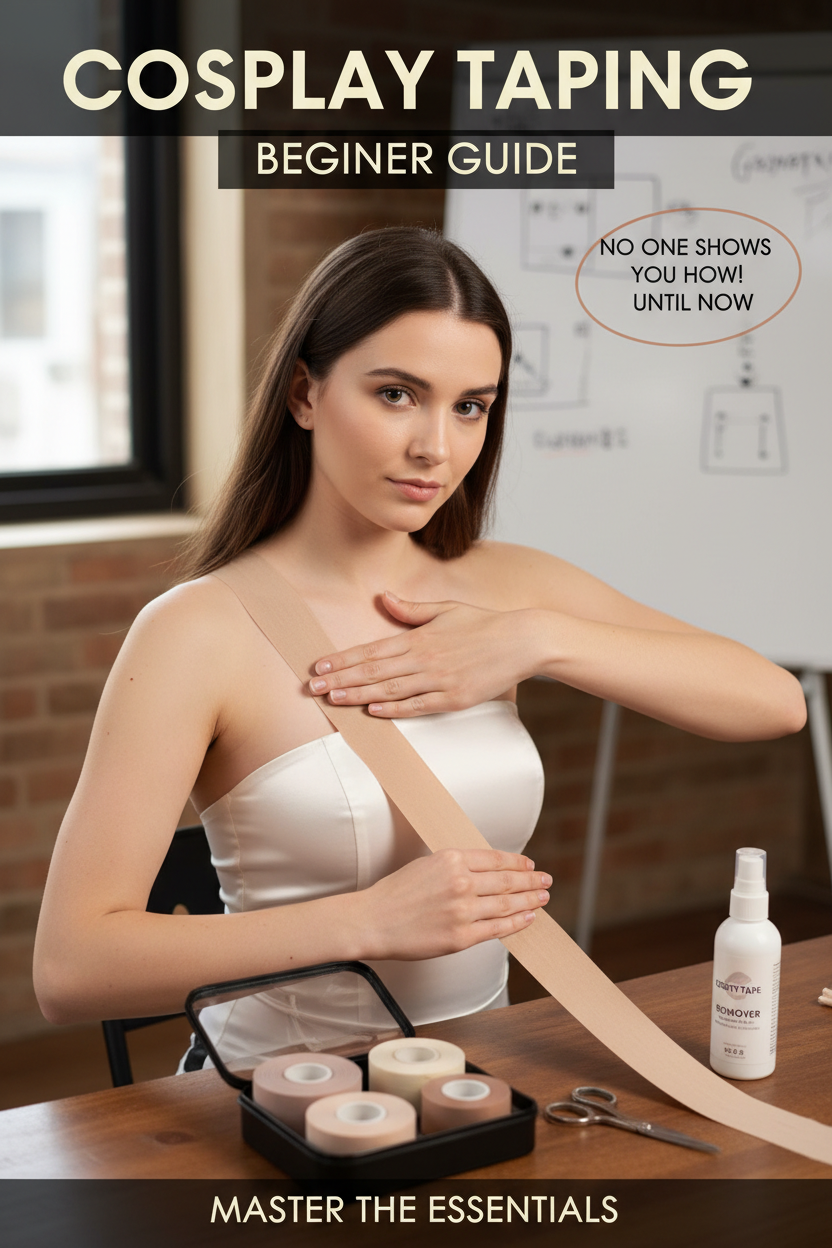
If you've searched how to tape for cosplay and come away more confused than when you started, you're not alone — this is one of those basic techniques that everyone assumes you'll just figure out, but almost nobody actually explains step by step. Under #cosplaytips and #beginnercosplayer, this exact question keeps coming up, which tells you it's a real gap, not a silly question. Here are the five things every beginner actually needs to know, answered directly first, then explained in more depth.
Question 1: How do I actually apply cosplay tape correctly?
Direct answer: Apply tape to clean, dry, oil-free skin, press firmly along the entire length of the strip (not just the ends), and hold for a few seconds to let the adhesive fully bond before you start moving.
This sounds almost too simple to need explaining, but skipping any one of these steps is exactly why tape fails partway through the day. Skin oil, lotion, or sweat residue on the application area is the single biggest reason tape doesn't hold as long as it should — wipe the area with a bit of rubbing alcohol or a basic skin-prep wipe before applying if you're at all unsure the area is clean. Pressing along the full strip matters more than people expect too: pressing only at the center or the ends leaves gaps where the adhesive hasn't actually bonded to your skin, which is often where a "secure" piece of tape starts lifting first. Finally, giving the bond a few seconds of firm, still contact before moving lets the adhesive actually set — applying tape and immediately jumping into movement is a common way to undercut a hold that would otherwise last hours.
Question 2: Where should I tape on my costume — and where should I never tape?
Direct answer: Tape works best on flat, low-movement areas like necklines, straps, and side seams. Avoid taping directly over joints, highly elastic fabric, or anywhere skin folds and creases repeatedly, since movement in those spots breaks the bond fast and can pull uncomfortably.
Understanding why certain spots work better than others makes this much easier to apply to any costume, not just memorize as a rule. Flat areas with minimal movement — a neckline that needs to stay in place, a strap that shouldn't slip, a side seam that needs to lay flat — are ideal because the tape's bond isn't being repeatedly flexed and tested by nearby motion. Joints and heavily creased areas (elbows, the inside of your waist when seated, anywhere skin folds when you move) are the opposite: constant flexing works the adhesive loose much faster, and taping directly over a joint can also just be uncomfortable or restrict movement in a way that makes the rest of your day worse, not better. As a general rule: if the spot needs to stay still to look right, tape works well there; if the spot needs to move freely, tape usually isn't the right tool for that specific problem.
Question 3: How long does cosplay tape actually last, and when do I need to reapply?
Direct answer: Most cosplay-grade tape holds reliably for 6–10 hours under normal movement, but heat, sweat, and repeated flexing all shorten that window — check high-stress areas periodically rather than assuming your morning application will last the whole event unattended.
This is one of the most common sources of mid-event wardrobe surprises, and it's almost always a timing issue rather than a product failure. Tape doesn't fail all at once — it loosens gradually, and the areas under the most physical stress (anywhere near movement, anywhere exposed to more sweat) will start to lift well before other spots do. Building in a quick check partway through a long day — a simple glance or press-test on your highest-stress taped areas — lets you catch a loosening bond and reapply before it actually becomes visible or fails completely, rather than discovering the problem after it's already happened. If you know your event involves a lot of movement (dancing, an active photo session, a long walk between venues), it's worth planning for at least one reapplication rather than treating a single morning application as good for the whole day.
Question 4: How do I remove cosplay tape without it hurting or damaging my skin?
Direct answer: Never pull tape off dry — apply a bit of oil-based remover or even baby oil to the edges first, let it sit for a moment to break down the adhesive, then peel slowly in the direction of hair growth rather than against it.
Dry removal is where most of the actual discomfort from cosplay tape happens, and it's almost entirely avoidable. Pulling adhesive off skin without any product to loosen the bond first is what causes redness, stinging, and in some cases minor skin irritation, especially after a full day where the tape has been in place for many hours. An oil-based remover (a dedicated adhesive remover, or a basic household oil in a pinch) breaks down the adhesive's grip without needing force, which makes the actual peel far gentler. Direction matters too — peeling in the same direction your body hair grows is noticeably less uncomfortable than peeling against it, since pulling against the grain tugs on individual hairs in addition to the adhesive bond itself. If an area feels especially sensitive or the tape has been on for an extended period, taking a break partway through removal rather than forcing the whole strip off in one motion is a reasonable way to reduce discomfort further.
Question 5: Is regular tape fine, or do I actually need cosplay-specific tape?
Direct answer: Regular household or medical tape isn't designed for extended skin contact or fabric-to-skin bonding the way cosplay-specific tape is — it's worth using a proper product rather than substituting something not built for this use, especially for a full con day.
This is a common beginner cost-saving instinct that usually backfires. General-purpose tape often isn't formulated with skin-safe adhesive meant for many hours of wear, which increases irritation risk, and it frequently doesn't hold as reliably against fabric the way tape designed specifically for costume use does — you end up reapplying more often and risking more skin discomfort, which cancels out whatever you saved by not buying the purpose-built product. If you're just starting out and building your first taping kit, a proper beginner-friendly cosplay body tape designed specifically for this use is a low-cost purchase that solves both problems at once — reliable hold and a formula meant for extended skin contact — rather than gambling on a substitute that wasn't built for the job.
Summary & Further Reading
Getting comfortable with cosplay taping really comes down to five things: prep the skin properly before applying, tape flat low-movement areas rather than joints or stretchy fabric, check your highest-stress spots partway through a long day rather than assuming one application lasts forever, remove with an oil-based product rather than pulling dry, and use a proper cosplay-specific tape rather than substituting something not designed for the job. None of this requires advanced skill — it's mostly about knowing the handful of details nobody usually bothers to explain clearly.
If you found this useful, here's where to go next:
- A full comparison of fashion tape versus wig tape, for deciding exactly which product to buy once you've got the basic technique down
- A guide to sweatproof cosplay makeup and wardrobe malfunction prevention more broadly, for tackling the other common summer convention hiccups alongside taping



Leave a comment
This site is protected by hCaptcha and the hCaptcha Privacy Policy and Terms of Service apply.