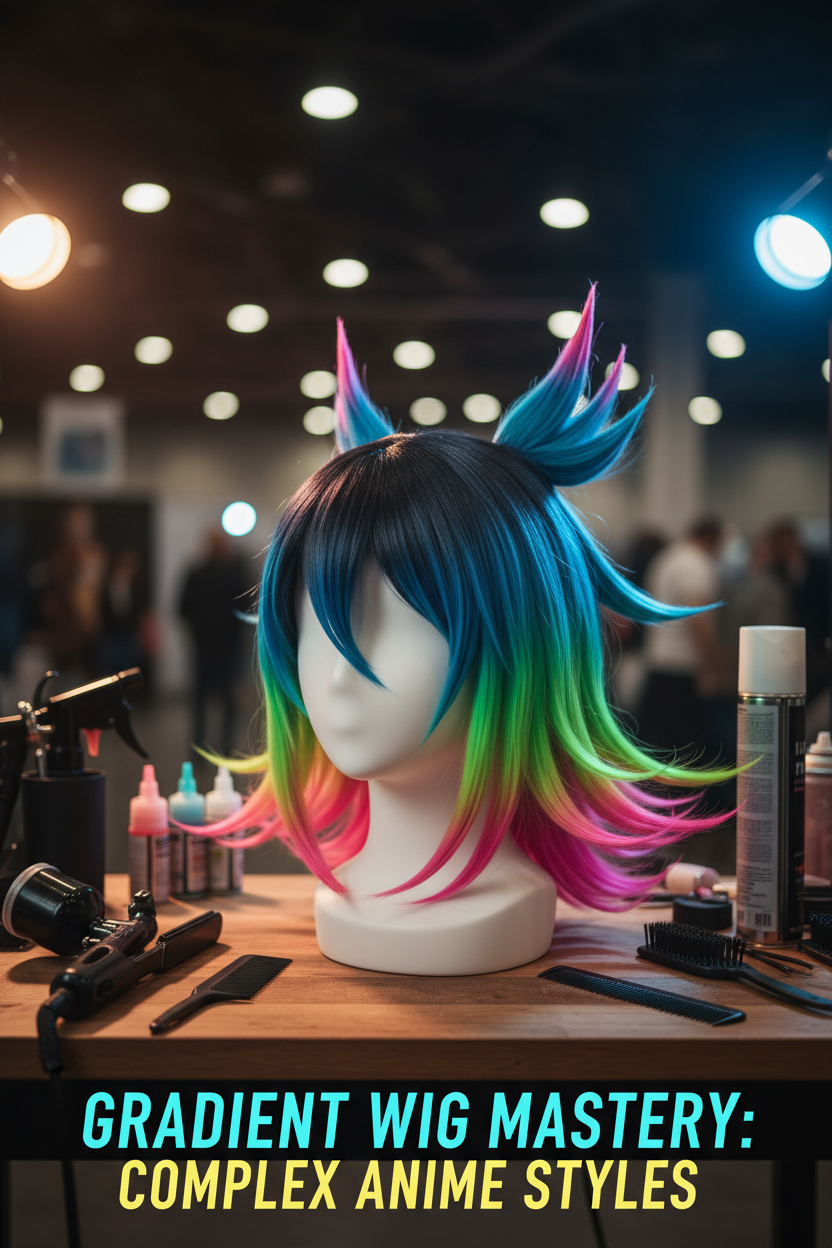
Modern game designs from titles like Zenless Zone Zero and Honkai: Star Rail feature complex hair colors, including multi-tonal transitions, neon tips, and spliced color blocks. Achieving a seamless gradient cosplay wig requires balancing pigment application with fiber structural volume to prevent colors from muddying or collapsing under convention lights.
                    [ GRADIENT WIG STYLING PIPELINE ]
                                    │
    ┌───────────────────────────────┼───────────────────────────────┐
    ▼                               ▼                               ▼
1. Color Application           2. Base Structuring             3. Heat Setting
- Airbrushing (Ombre)          - Root Crimping                 - Precision Spiking
- Weft Splicing (Two-Tone)     - Layered Teasing               - Cool-Air Freezing
Required Tools & Materials Checklist
-
Base Wig & Extensions: Heat-resistant anime cosplay wig (120°C–160°C tolerance) and matching contrast extension wefts.
-
Coloring Equipment: Mini airbrush system (or fine mist spray bottles), 70% isopropyl alcohol, and acrylic/alcohol inks (such as Copic refill inks).
-
Styling Tools: Micro-crimping iron, ceramic flat iron, fine-tooth teasing comb, sectioning clips, and a heavy-duty wig block head.
-
Fixatives & Sealants: Ultra-hold hairspray (Got2b Glued or equivalent), blow dryer with cold-shot setting, and disposable nitrile gloves.
Step 1: Color Application (Airbrush Gradient vs. Two-Tone Splicing)
Depending on your target character design—such as a smooth ombre transition for a Honkai Star Rail cosplay wig or hard-edged contrast blocks for a Zenless Zone Zero cosplay wig—choose between airbrushing and mechanical weft splicing.
Method A: Airbrushing Smooth Color Transitions
-
Mix the Dye: Combine 1 part acrylic ink or alcohol dye with 5 parts 70% isopropyl alcohol in your airbrush reservoir.
-
Section the Hair: Pin the wig to a block head and separate the fibers into thin 1-inch horizontal layers starting from the nape of the neck.
-
Spray in Passes: Hold the nozzle 8 to 12 inches away from the fiber. Spray from the tips upward, reducing pressure near the mid-shaft to feather out the transition zone.
-
Comb and Dry: Immediately comb through the wet fibers with a fine-tooth comb to prevent pigment clumping, then set with a blow dryer on low heat.
Method B: Weft Splicing for Hard Two-Tone Color Blocks
-
Expose the Cap: Lift the top layers of your base wig and pin them out of the way.
-
Sew Contrast Wefts: Stitch contrasting multicolor cosplay wig extension strands directly onto the inner lace structure using a curved needle and polyester thread.
-
Blend the Seams: Lightly crimp the junction line where the two colors meet to disguise the underlying cap tracks.
Step 2: Layered Teasing, Crimping, and Structural Base Building
Executing complex cosplay wigs requires internal support; otherwise, heavy dyed fibers will flatten over time.
-
Crimp the Underlayers: Clamp a micro-crimping iron along the inner 2 inches of the roots. Crimping creates micro-texture that holds volume without adding visible frizz to the outer surface.
-
Section by Color Zone: Clip dyed gradient tips away from base layers to keep your work area clean.
-
Tease for Height: Hold a hair section at a 90-degree angle from the head. Push a teasing comb down toward the roots in short strokes to create a dense cushion of support beneath the top fibers.
Step 3: Precision Spiking, Silhouette Smoothing, and Color Sealing
Finalizing how to style a gradient cosplay wig requires setting the silhouette while locking in liquid pigments so they don't rub off onto your costume.
-
Smooth Outer Fibers: Lightly comb the un-teased top layer over your teasing cushion to create a clean visual exterior.
-
Form Gravity-Defying Spikes: Pinch the ends of a color-dyed strand, spray generously with ultra-hold hairspray, and run a flat iron set to 130°C quickly over the tip.
-
Freeze with Cool Air: Blast the warm spike with a hair dryer’s cool-shot button for 5 seconds to lock the shape into place.
-
Rinse and Seal: Once dry, gently rinse the dyed ends under cold running water until the runoff is clear. Allow to air dry, then mist with a light coat of matte acrylic sealer or hairspray to prevent dye transfer onto shoulder armor.
Troubleshooting & Pitfalls to Avoid
| Problem | Root Cause | Immediate Solution |
| Patchy or Blotchy Gradients | Spraying too close or over-saturating fibers with liquid dye. | Comb through wet sections instantly and mist in thin, buildable layers. |
| Dye Rubbing Off on Costumes | Unrinsed excess ink or friction against fabric. | Rinse dyed tips in cold water until clear; seal fibers with light hairspray. |
| Fiber Melting or Frizzing | Flat iron temperature exceeds synthetic fiber limit (>160°C). | Keep hot tools between 120°C and 140°C; test heat on a back under-weft first. |
| Gradient Collapse / Flat Spikes | Heavy dye weight pulling the hairstyle downward. | Crimp inner roots before teasing to build a solid structural base. |
Next Steps for Custom Wig Builders
Mastering this gradient wig styling tutorial allows you to tackle high-detail characters across modern gaming franchises with confidence.
For additional base styling materials, explore our collection of pre-dyed colored cosplay wigs or commission tailored bases through our custom cosplay wigs workshop.
For more insights on maintaining prop balance and costume endurance, read our companion guide on How to Build a Lightsaber Prop With Real Weight and Screen-Accurate Glow.
![Lightsaber Cosplay Prop Ultimate Guide: How to Build a Prop With Real Weight and Screen-Accurate Glow [2026 Edition]](http://www.cosplayreal.com/cdn/shop/articles/cover-lightsaber-cosplay-prop-ultimate-guide-2026.png?v=1788092937&width=832)
![The One-Week Cosplay Build Ultimate Guide: From Challenge to Completion [2026 Edition]](http://www.cosplayreal.com/cdn/shop/articles/cover-one-week-cosplay-speed-build-ultimate-guide-2026.png?v=1788268118&width=832)

Leave a comment
This site is protected by hCaptcha and the hCaptcha Privacy Policy and Terms of Service apply.