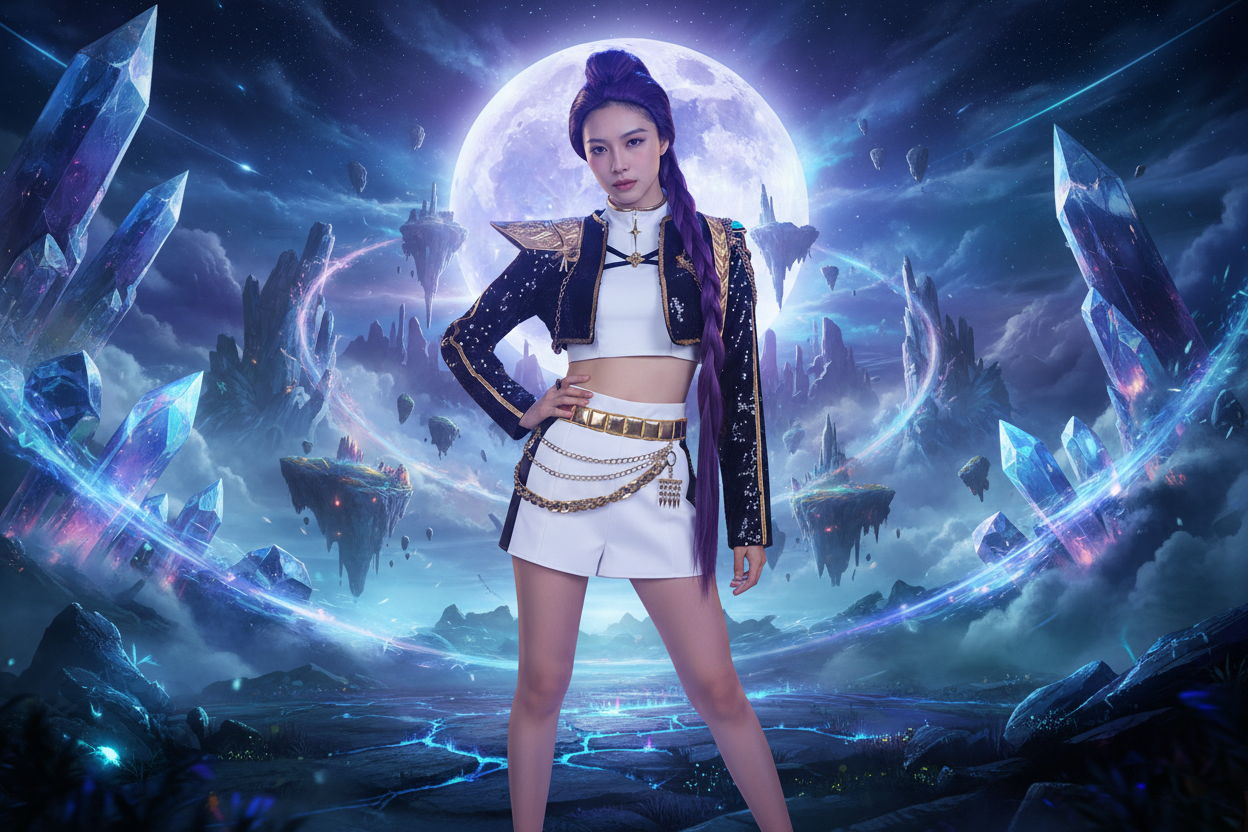
You’ve spent weeks selecting the perfect character, styled your wig to gravity-defying perfection, and finally donned your High-Quality Cosplay Costumes for a photoshoot. But when the RAW files come back, the background of a local park or a plain studio wall doesn’t quite capture the magical realm of Teyvat or the neon-soaked streets of a cyberpunk city.
Digital compositing is the "final stitch" in a cosplayer's journey. It’s the art of placing a real-world person into a fictional world. At cosplayreal.com, we provide costumes with rich, high-resolution textures that are specifically designed to withstand the scrutiny of professional digital editing. Here is how you can take your photos from "backyard" to "blockbuster."
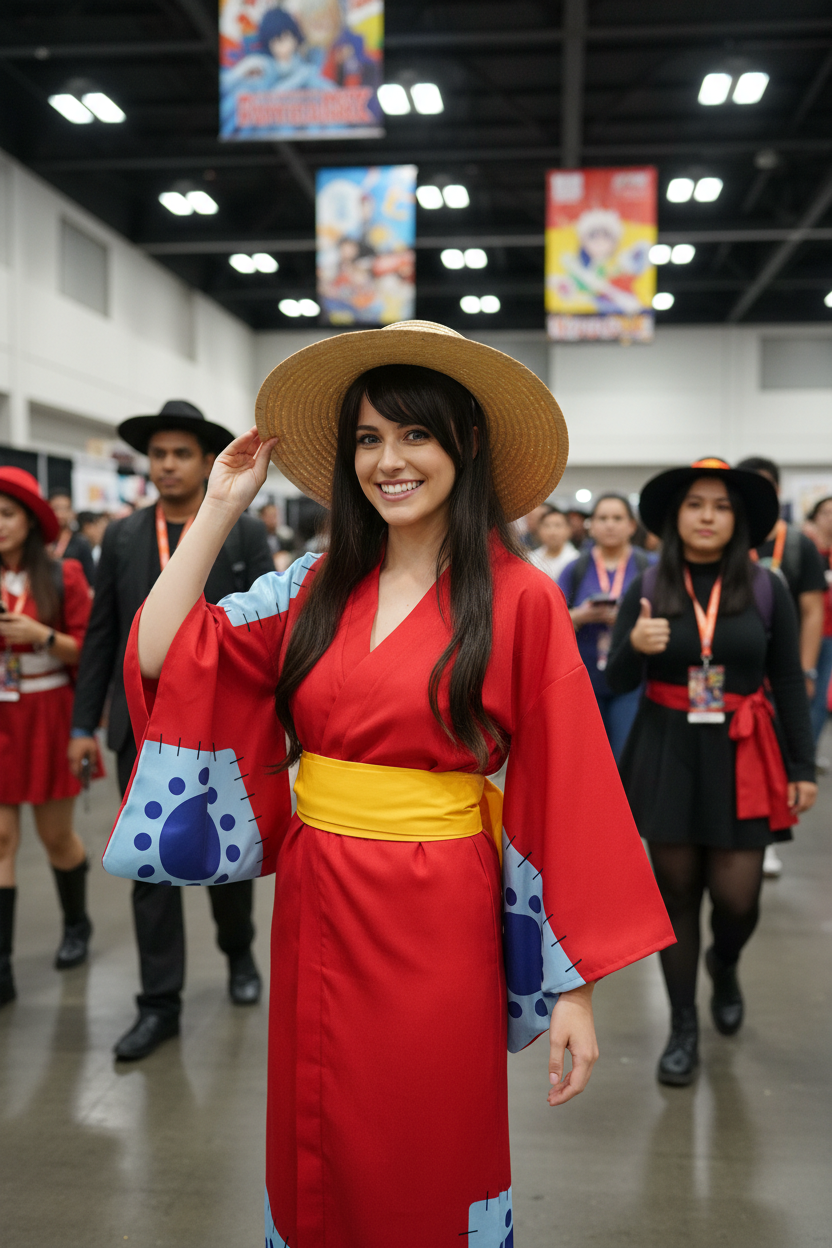
1. The Foundation: Capturing the Right Raw Assets Before you even open Photoshop, your "base" photo needs to be high-quality. This is why we prioritize material integrity at Cosplayreal. Our fabrics—whether it’s the intricate embroidery of a Genshin Impact set or the matte finish of our tactical gear—reflect light realistically.
-
Pro Tip: Shoot in a "Flat" profile or RAW format. This preserves the maximum amount of data in the shadows and highlights of your costume, allowing for better color grading later.

2. Seamless Cutouts: The Pen Tool is Your Best Friend A cinematic edit lives or dies by the "cutout." While AI selection tools have improved, they often struggle with the fine details of professional cosplay, such as lace edges or sharp armor points.
-
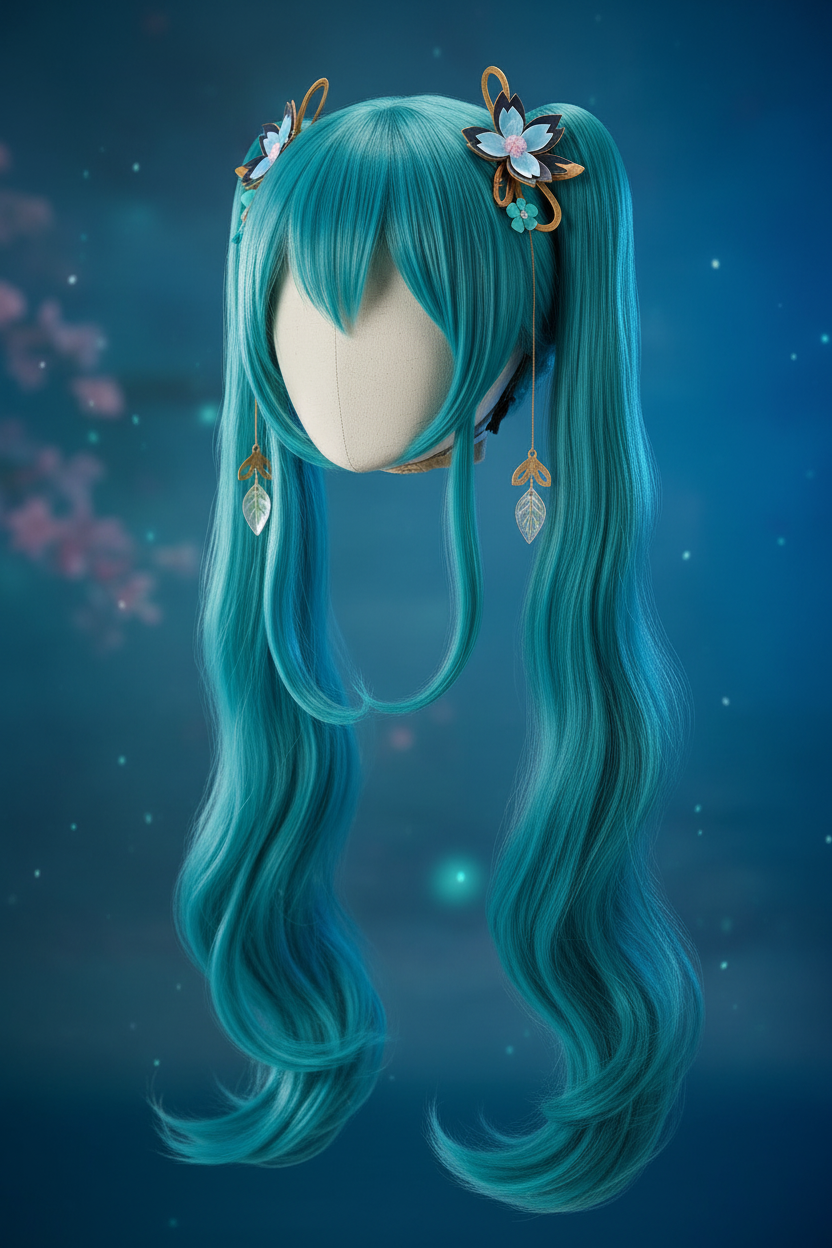
The Technique: Use the Pen Tool (P) for a hard-edge selection. For hair and wigs, use the "Select and Mask" workspace with the Refine Edge brush. Because our wigs use premium fibers, they maintain a natural silhouette that makes masking much easier than cheaper, "frizzy" alternatives.

3. Matching the "Light Logic" The biggest giveaway of a fake edit is lighting inconsistency. If your digital background has a sunset glow from the left, but your studio light was coming from the right, the brain immediately knows something is wrong.
-
The Fix: Use a 50% Gray layer set to "Overlay" mode. Use the Dodge and Burn tools to manually add highlights and shadows to your cosplayreal.com outfit. Trace the folds of the fabric to emphasize the 1:1 screen-accurate tailoring of our designs. This "re-lighting" process is what gives the image a 3D, tactile feel.

4. Color Grading: The "Glue" of Your Image To make your character feel like they are actually in the environment, you must unify the colors. Apply a Global Color Lookup (LUT) or a Gradient Map over the entire composition. A subtle blue tint in the shadows and a warm orange in the highlights can instantly make a fantasy forest feel atmospheric and immersive.
Conclusion Editing is where your passion meets your imagination. When you start with a professional-grade base from Cosplayreal.com, you are giving yourself the best possible canvas to create art. Don't just wear the character—live in their world.
Leave a comment
This site is protected by hCaptcha and the hCaptcha Privacy Policy and Terms of Service apply.