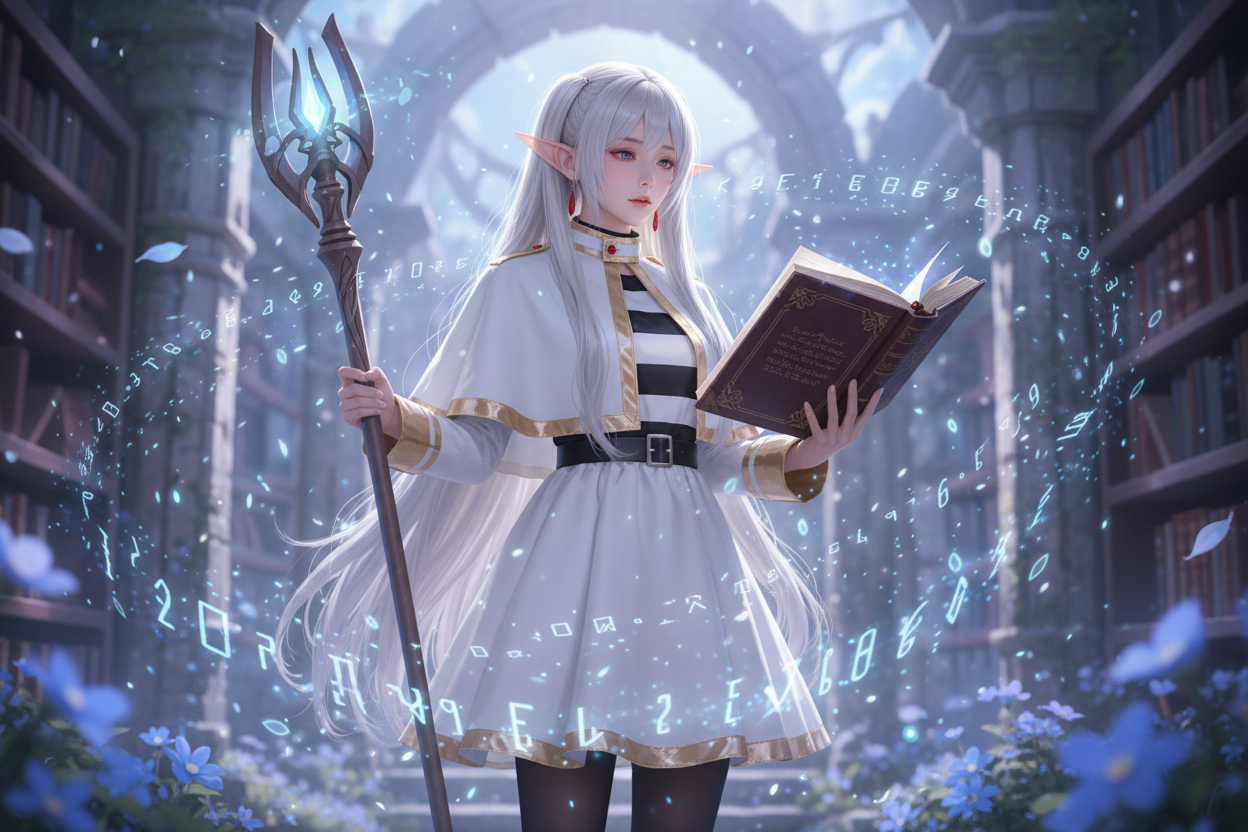
In the visual narrative of Frieren: Beyond Journey's End, Fern’s mage staff is not merely an accessory; it is the physical manifestation of her disciplined, understated magic. For the discerning photographer or creator, capturing this prop is a common point of failure. Most productions rely on lightweight, hollow-cast plastic that screams "toy" under the scrutiny of a high-resolution 4K lens. When your prop lacks visual "heaviness," the entire character’s authority collapses on screen.
To bridge the gap between amateur cosplay and cinematic realism, you must approach the prop as a piece of industrial design. We are looking for tactile density, surface weathering, and an internal lighting core that respects the physics of fantasy light. If you are preparing for a dedicated studio shoot, upgrading your ensemble to include a professional-grade Fern mage staff is the definitive step toward achieving that elusive, high-fantasy editorial finish.
🧭 The Prop Audit: Engineering Standards for Realism
Before stepping into the studio, audit your current gear against these three "Mage-Grade" engineering standards:
1. The Inertia Factor (Weight & Balance)
Fern’s staff requires a specific center of gravity that anchors the creator's pose. If the prop is too light, the model’s hand movements will look erratic and unrefined.
-
The Technical Target: A weighted core (usually a steel or aluminum rod spine) providing at least 1.2kg of localized resistance.
-
Why it Matters: Genuine weight forces the model to engage their muscles, creating natural, subtle micro-tensions in the hands and forearms that "sell" the illusion of wielding actual magic.
2. Surface Physics (Matte vs. Reflective)
Cheap props are often finished with high-gloss lacquer, which reflects studio strobes and destroys the "antique" look.
-
The Technical Target: A hand-brushed, matte-satin finish with deliberate "weathering" in the crevices of the wood grain.
-
Why it Matters: Real-world materials don't reflect perfectly. By opting for a matte finish, your camera sensor can resolve the prop’s texture without encountering blown-out specular highlights.
3. The Photonic Core (Internal Illumination)
The staff's crystal needs to glow from within, not just sit on top of a bulb.
-
The Technical Target: An opal-diffused crystalline housing with high-CRI (Color Rendering Index) LED integration.
-
Why it Matters: Diffused internal light avoids the "cheap bulb" look and creates a soft, ethereal halo that bleeds naturally into the surrounding space.
🛠️ The Prop Performance Audit
| Prop Component | Industry Standard | The "Editorial" Difference |
| Main Spine | Hollow PVC | Weighted Aluminum/Composite Core |
| Finishing | High-Gloss Paint | Multi-Layer Weathered Matte Satin |
| Crystal/Tip | Clear Resin | Opal-Diffused, High-CRI LED Core |
Technical Note: The "Mage Aura" Integration
Fern’s aesthetic relies on a restrained, academic color palette. When matching your staff to your wardrobe, ensure the browns and golds are calibrated to a "muted" spectrum. If you are shooting with a staff that feels disjointed from your costume's weave, refer to our Fern mage attire styling protocols to achieve a unified, high-contrast look that survives the scrutiny of professional macro photography.
💡 Practical Application: The "Grimoire-Light" Studio Setup
Setup
To capture the scholarly melancholy of Fern, we suggest a Focused Soft-Light Setup:
-
The "Reading Light" (Key): Place a small, 24-inch beauty dish with a grid tight against the subject's grimoire or staff. This mimics the intimate, directional light of a library candle.
-
The Separation (Rim): Use a low-intensity, warm-tone LED strip at a 45-degree angle behind the subject. This draws a clean, sharp line around the silhouette of the staff.
-
The "Diffusion" Bounce: Use a white poly-board below the prop to lift the harsh shadows from the floor, ensuring the underside of the staff remains readable.
❓ Developer's FAQ
Q: Why does the staff look "flat" in my photos?
A: You are likely using an omnidirectional light. Switch to a gridded modifier to create a "fall-off" effect, which allows the prop to show volume (highlight vs. shadow).
Q: Can I modify the LED core myself?
A: Only if you are experienced with voltage control. Standard batteries often fluctuate, causing the "flicker" effect that ruins long-exposure photography. Our pro-grade props use stabilized DC circuits.
Q: How do I transport this safely?
A: Always use a hard-shell, foam-lined transport case. The "weathered" matte finish is sensitive to friction, and hard-shell protection is the only way to ensure the prop reaches the studio in mint condition.
🏁 The Final Frame
A mage is only as convincing as the tool they wield. When you move beyond the "plastic toy" mindset and start treating props as engineering achievements, your imagery will naturally demand more attention. Master the lighting, respect the physical weight of the craft, and let your photography speak to the academic rigor of the mage.

Leave a comment
This site is protected by hCaptcha and the hCaptcha Privacy Policy and Terms of Service apply.